
all things brewing cocoa
How I do it
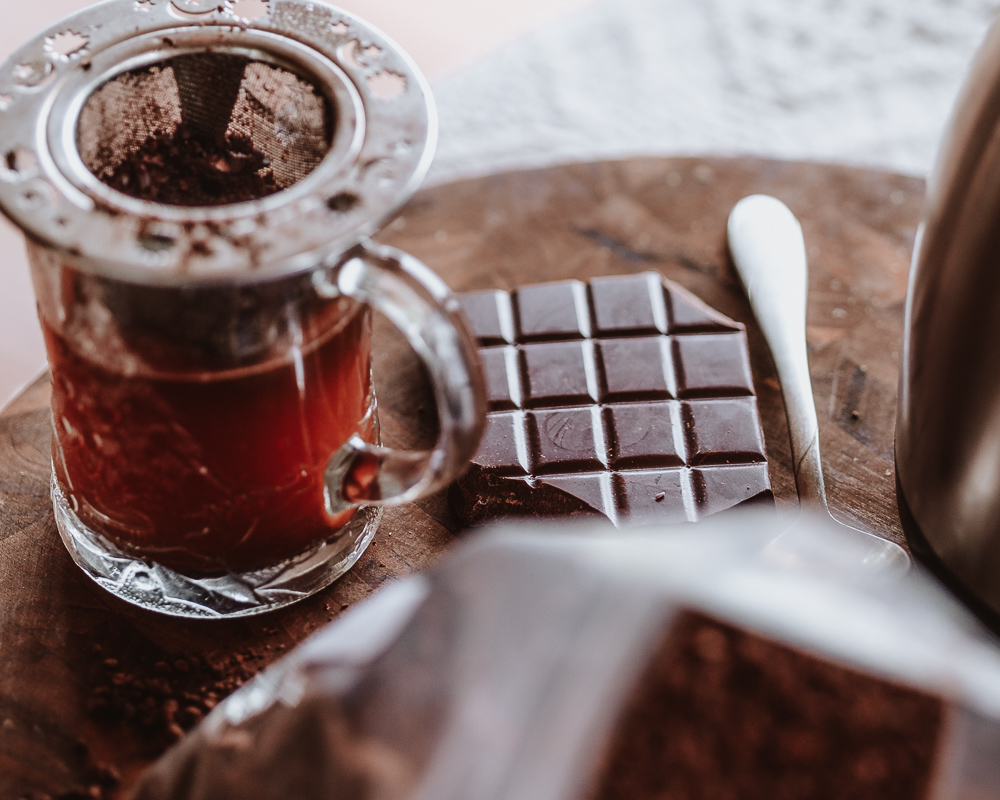
Brewing cocoa as I define it is whole roasted cocoa beans ground relatively coarse and brewed much like tea steeping 4-5 minutes in hot water. You could also compare it to French press coffee in that the grind size and steeping time is about the same. Just like coffee it can also be brewed cold setting 24 hours either at room temperature or refrigerated. I'm not a huge fan of it as pour over (with no steep) but the Brazen Brewer does a nice job
You will end up with a beverage somewhere between a tea and a coffee from a body stand point. It will bear no resemblance to hot chocolate.
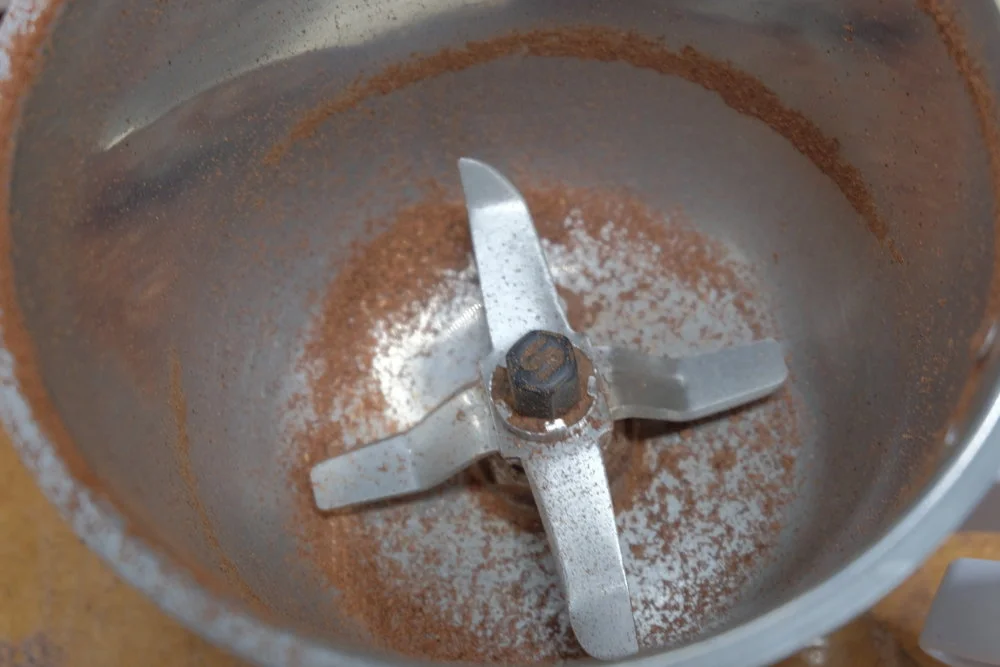
To date I have found that the better the coffee grinder the worse they are for brewing cocoa. The issue is that good coffee grinders have burrs. But these burrs get clogged up with cocoa butter and everything just stops. That includes hand grinders. I found one single industrial coffee grinder that when set to coarse would do the job. Unfortunately it was a 3 hp, $8K grinder with 8” flat burrs. Since anything like that is off the table what you will want to use is some ilk of blade grinder. This can be a small spice grinder or some type of food processor/blender. Here is the one I use.

I’m going to skip over the roasting question for just a moment and come back to it after I talk about husk and bean choice.
You of course can do whatever you want but I find brewed nibs…..well, insipid is the only term that works for me. You need the husk to add a bit of body and color. So grind the whole bean. It is less work and tastes better. But make sure you don’t grind too fine. I’m always taken aback when I get comments back about how coarse the brewing cocoa I sent out is and suggestions I should grind it finer for ‘more flavor’. More is not always better. Sure, there IS more flavor but not more good flavor. When you grind finer the brittle husk preferentially gets ground finer and that leads to very astringent flavors; nasty, off putting astringent flavors, to the point of not being palatable, so moderation in all things.
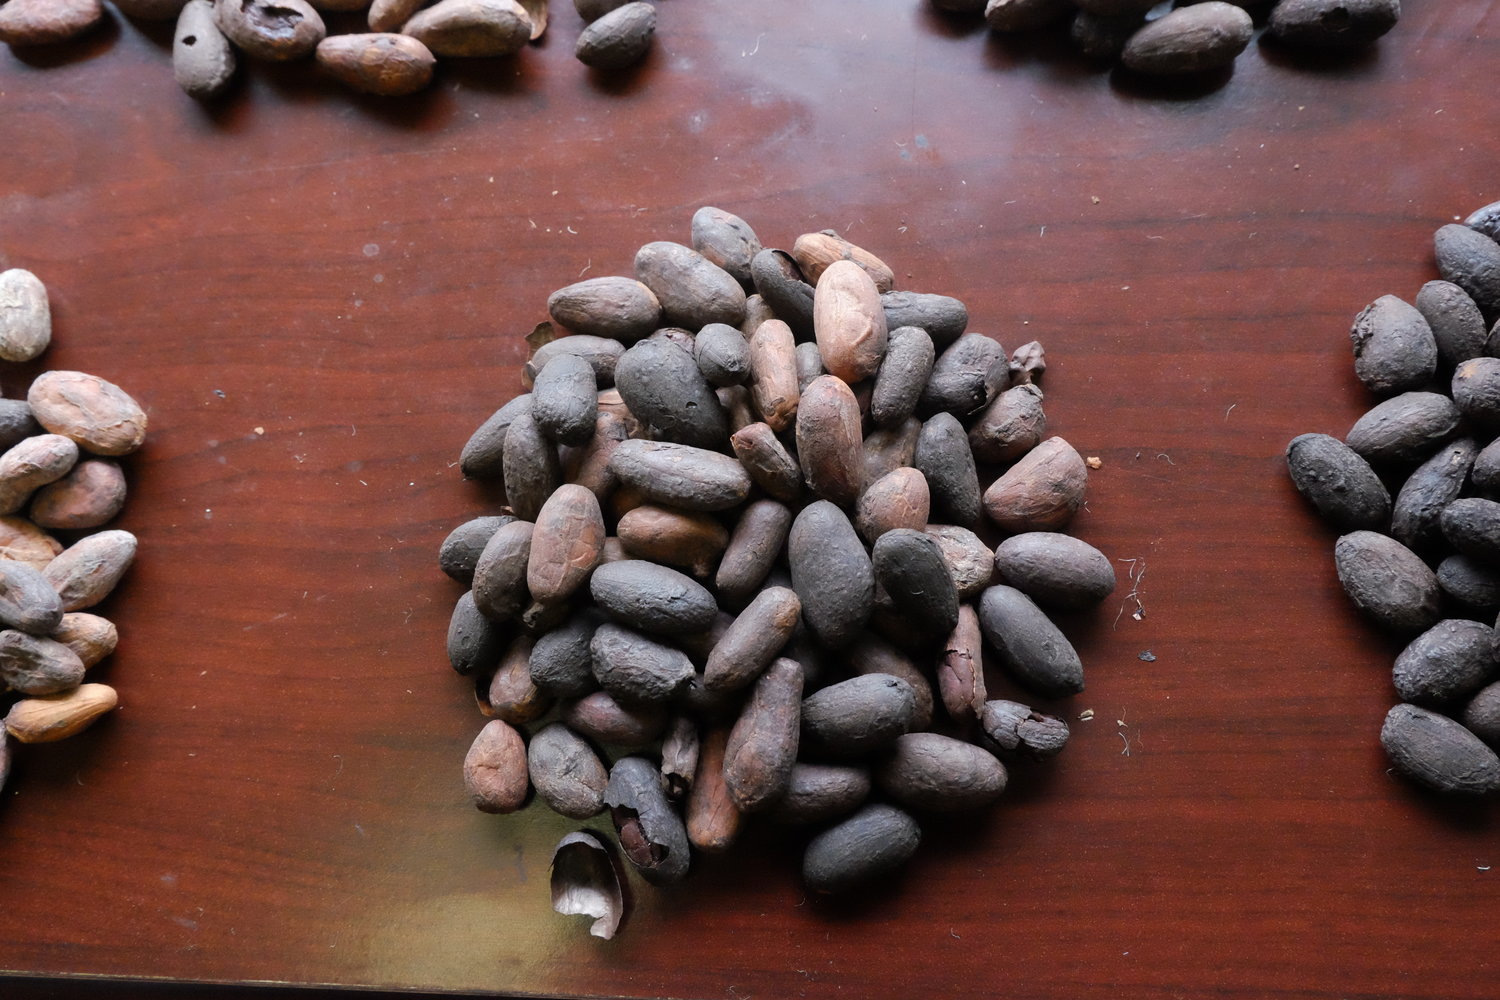
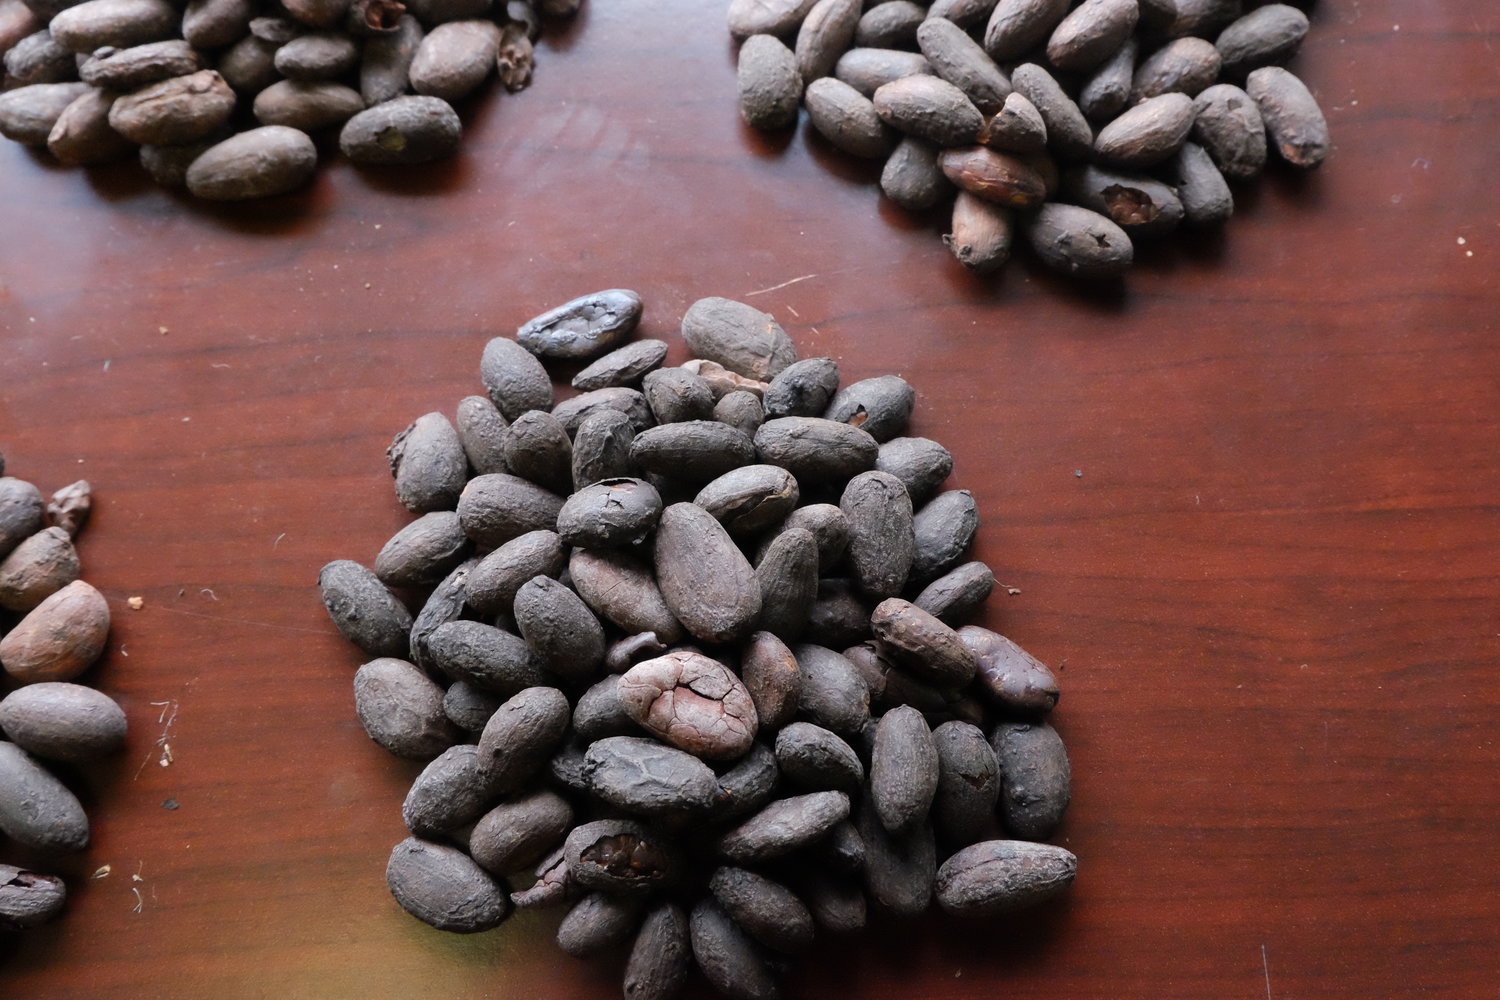
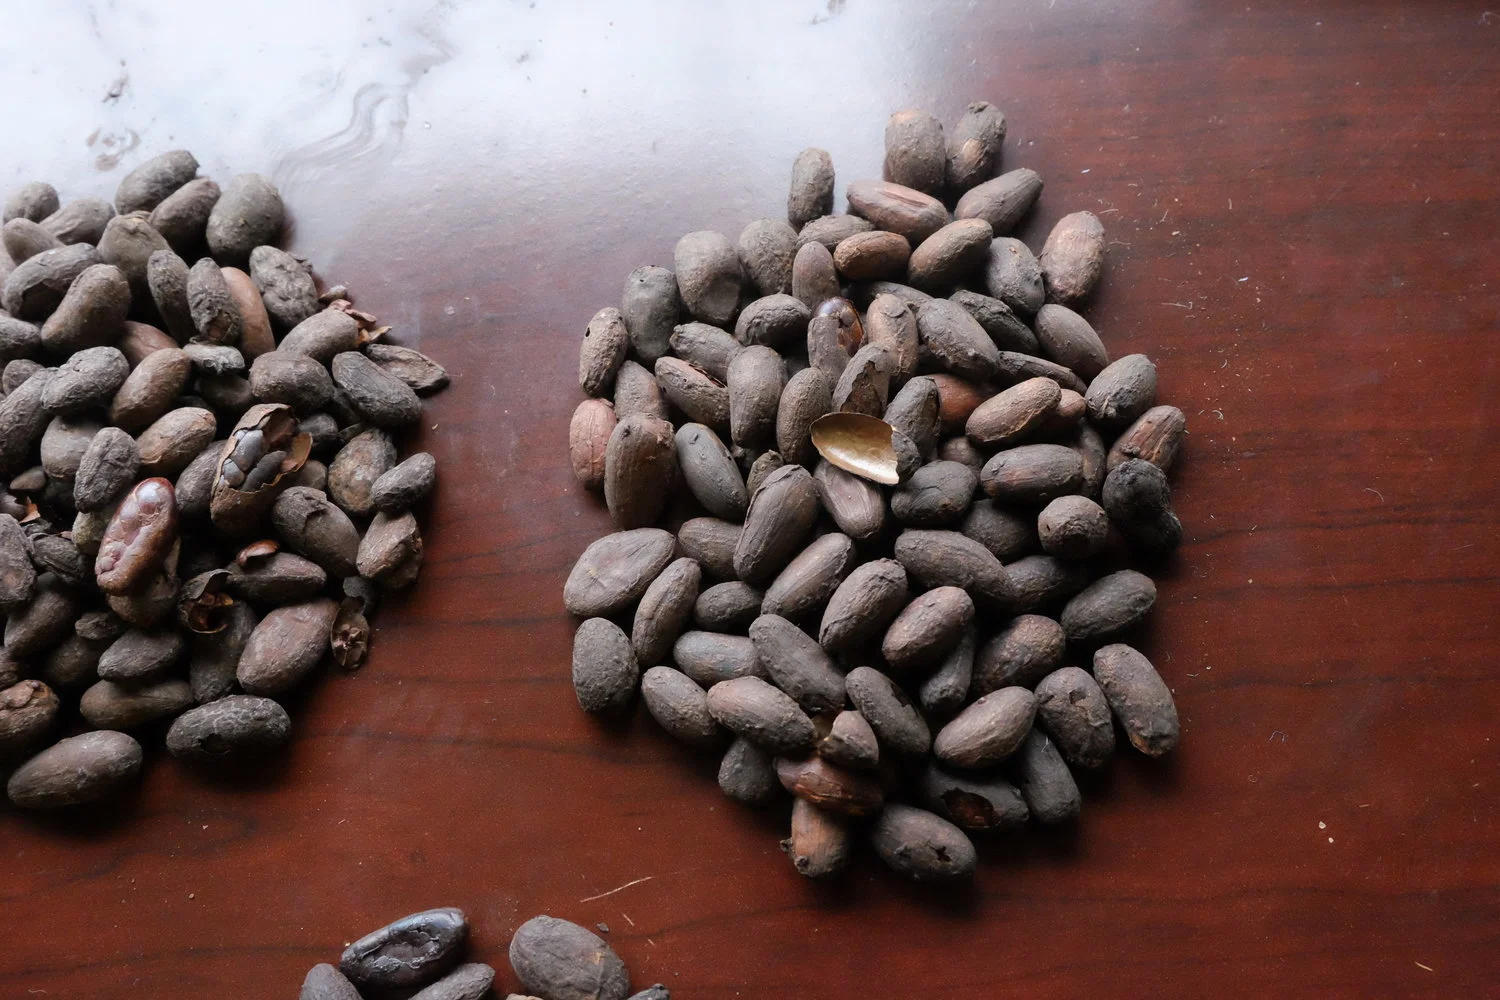
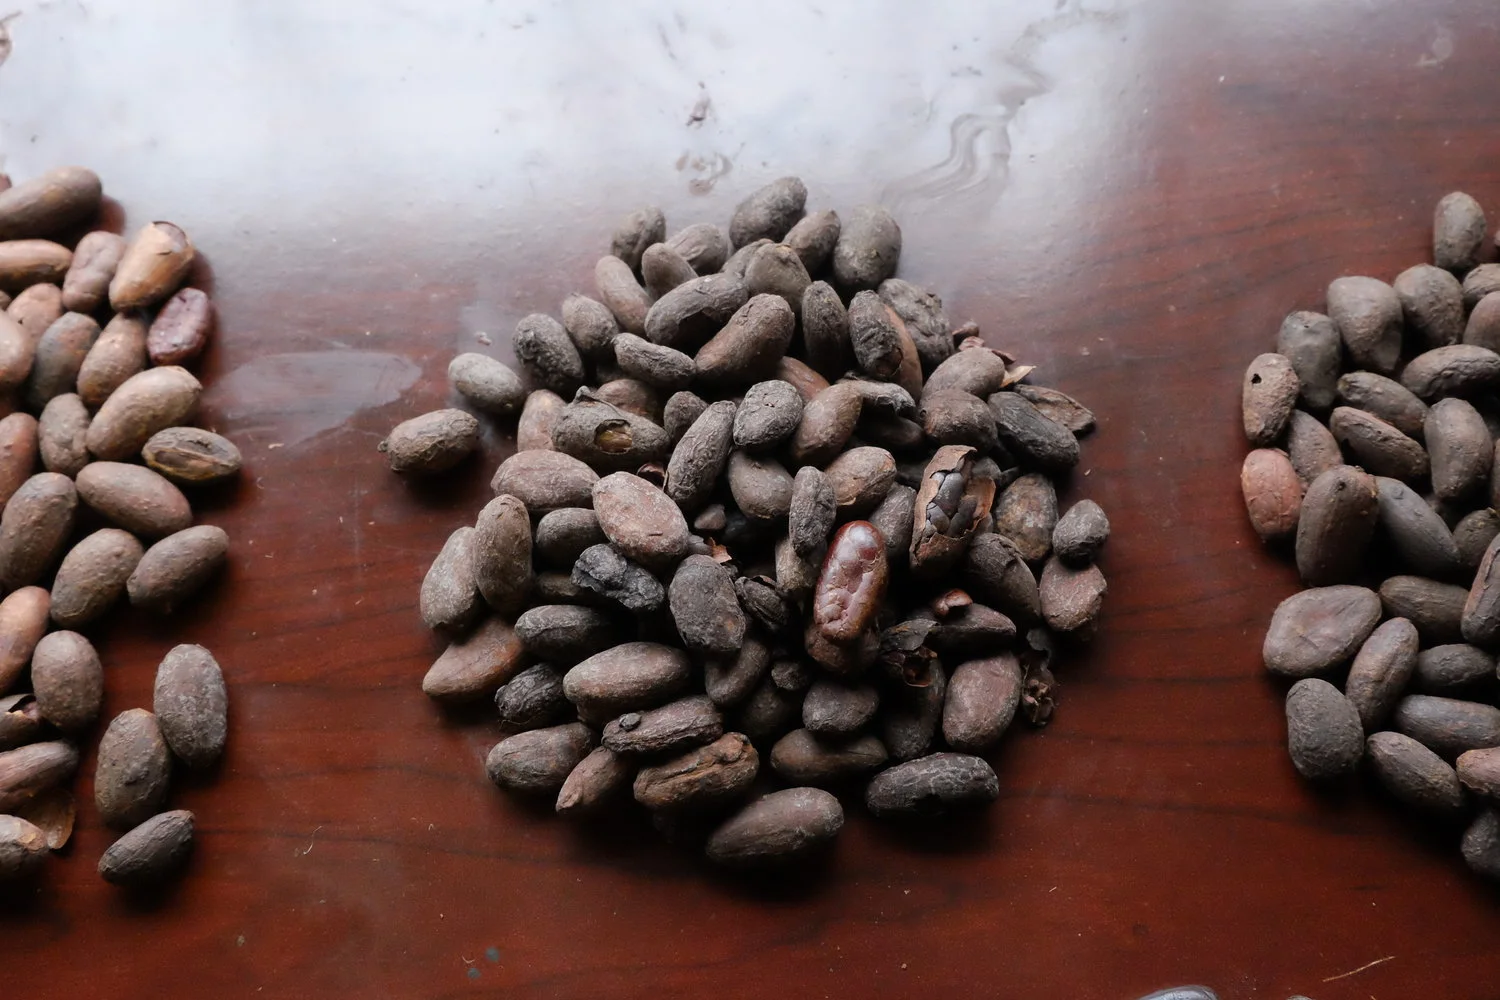
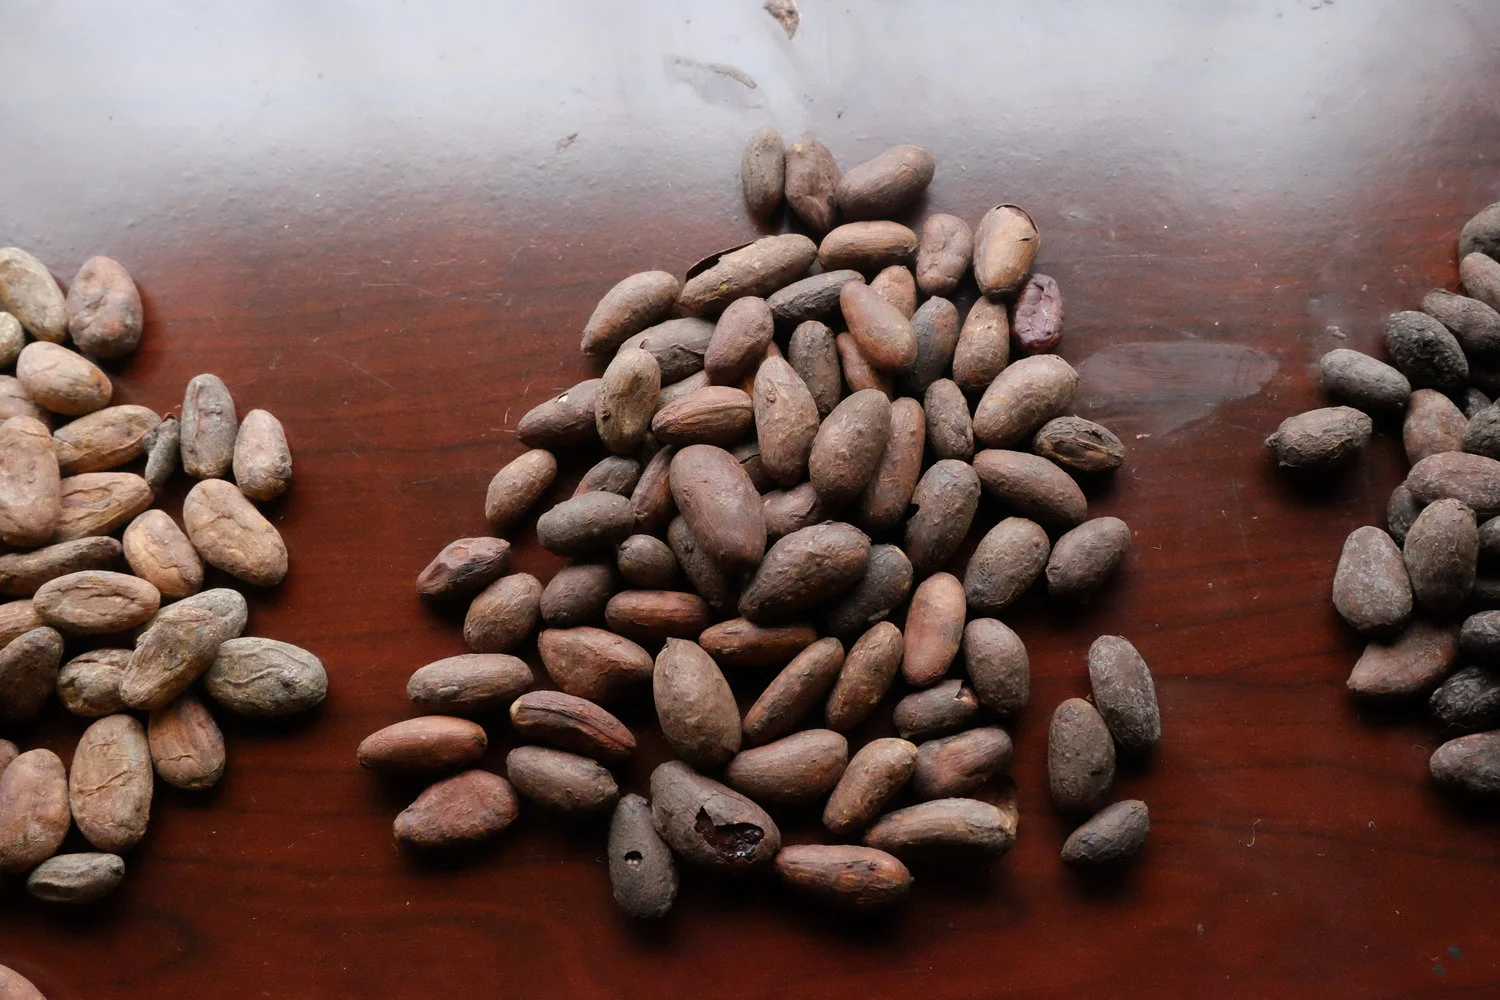
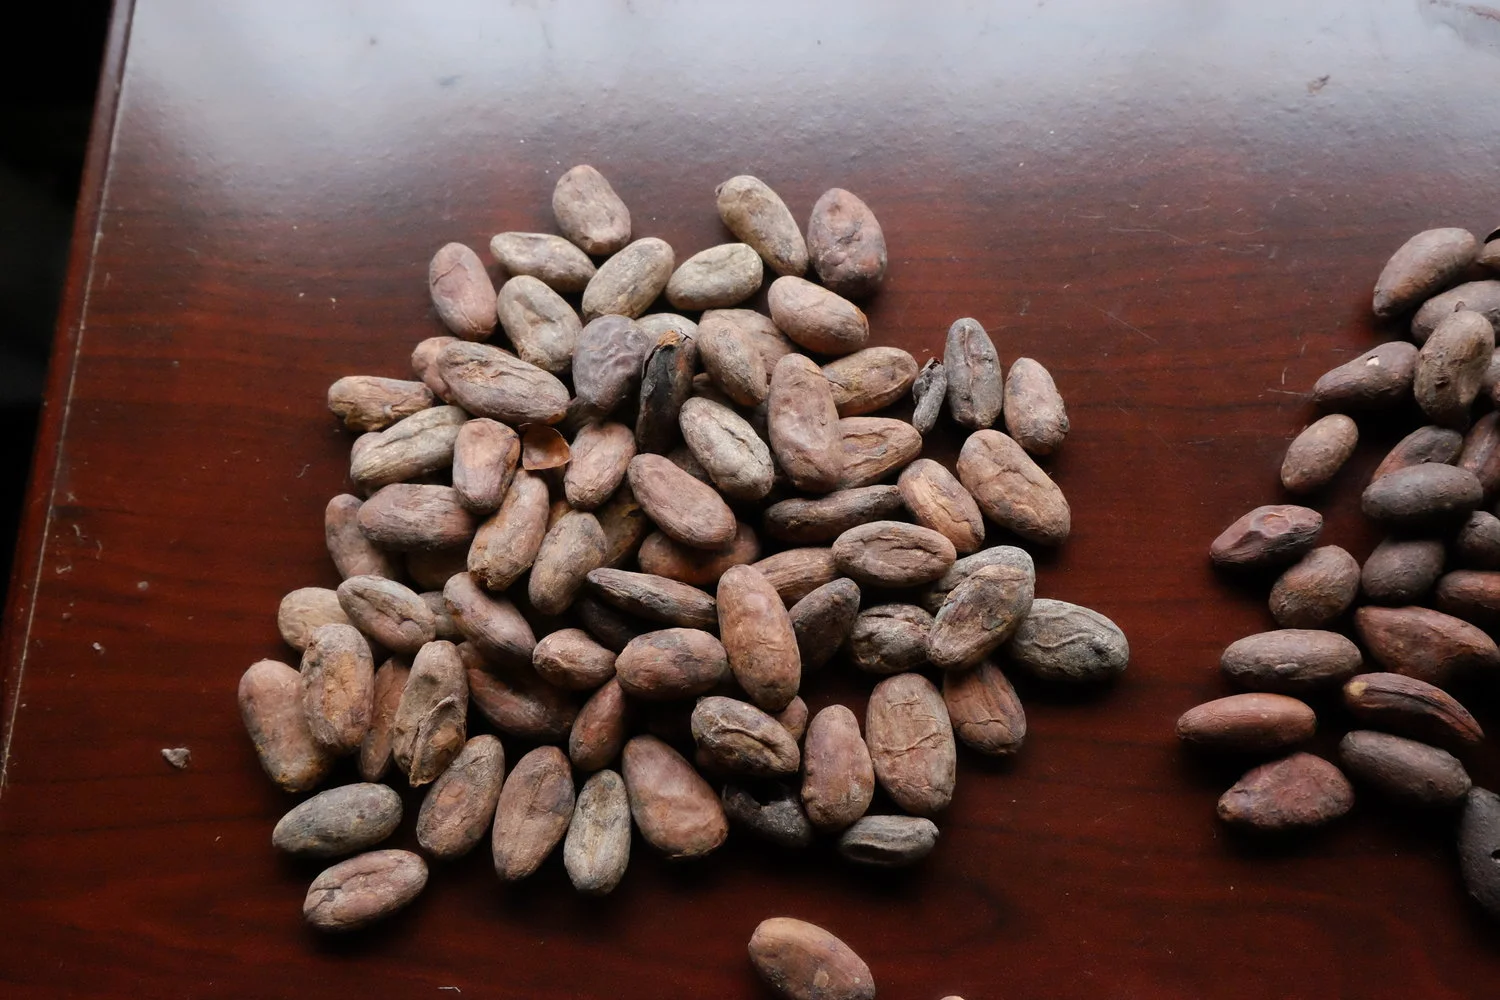
The grind on the left is what I generally recommend. The middle where it is just starting to clump can be ok for some brewing cocoas leaning toward the darker side. The far right is just nasty. It has started to clump and is super astringent which dose and brewing time just don’t fix.
Just keep it in the middle road an you will be fine.
Moderation. That is a good approach for bean choice and roasting also. To my tastes and based on sales, acidic beans don’t tend to brew well, Madagascar and Papua New Guinea and Guatemalan Chivite are prime examples. In the chocolates that they are made into there are other flavors balancing out the acidity but many of those flavors don’t water extract well so you get a sharp acidic brew. Fruity beans do fine as do nutty and chocolate heavy beans. And there is very little correlation between chocolate flavors and brewing cocoa flavors in terms of balance and flavor prediction. The India I have in can be a challenging chocolate but I adore it as brewing cocoa. Basically you have to judge each on it's own merit.
Let’s get onto roasting. Chocolate has a EOR temperature 232-270 more or less and as I’ve been laying out in my Profile Roasting articles, you can significantly tune the tastes. Brewing cocoa has a much larger roast window. The lightest I roast is about 250 F and for the really dark ones I’ve taken them as high as 440 F and to a large degree roast character really starts to dominate over about 380 F.
It really comes down to taste. I am not a fan of the lighter roasts. It is why I developed the darker series. Anakin, Tales from the Darkside, and Fire and Brimstone. Those all go to or have parts that go to 400-410 F. That level of roast gives them a very pungent aroma. It can been quite off putting to some people but if you brew with it, you find that pungency is tamed significantly and you have a full bodied beverage in your cup.
Did you catch what I just said about parts that go in? I don’t hide the fact that the Alchemist Series are blends. What I’ve never really talked about (it's not a trade secret - the are no real trade secrets in chocolate) is that I found the best balance with blending different roast levels. Anakin in particular is 2/3 of a light roast (250 F) and 1/3 of a very dark roast (410 F). Even most of my single origin brewing cocoa has about 5% of dark roasted beans added to increase body and color and lend a balance. With a single exception (Shadow’s Silhouette roasted to 333 F) I find single roast level brewing cocoa lacking somewhat in character, so I mix different roast levels together to get the flavor profile I want. Keep that in mind while you are trying your own.
Roasting. Well, there isn’t a great way to get temperatures in your Behmor but unlike roasting for chocolate, there is a color change here and it works pretty well for telling where you are in the roast. The main key is that if you want to make it to the high 300s or low 400s you need to cut back to the recommended weights for the Behmor, meaning 12-16 oz. They are going to look and smell very dark and pungent. You may think you burned them….but trust me. It’s ok…assuming you are going for a dark roast. Try it either straight up or mixed lighter beans in the proportion that suits your tastes. I would stick to P1 for this kind of roasting. Profiles seem to have little effect on the brewed flavor. It really is no more complicated than that.
In the end you need to experiment and find what you like. My recommendations are roast it darker than you would for chocolate, use more than you would for coffee or tea (1.5 – 2x) and let it steep 3-5 minutes if hot or 12-24 hours if cold. And don’t expect hot chocolate. Expect brewing cocoa.
Enjoy.
