
I should start off saying that I am not an expert at this portion of chocolate making. Fortunately, it is the best documented and chefs have been doing it for years. This is the basics, but as so much of this Chocolate Alchemy entails, lots of practice will probably be required. Why temper chocolate? It is what gives the chocolate bars you eat that finished glossy, shiny appearance and that nice snap when you eat it.
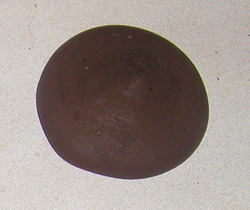
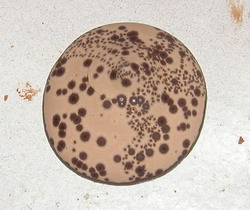
If you don't actively temper your chocolate, you might get lucky or you might not. The left most picture is of a piece of chocolate that is not tempered. It has just a matte appearance, is soft and melts readily if you try and pick it up. After a couple of days untempered chocolate tends to "bloom". That is the middle shot. It still tastes fine, but I find the texture of bloomed chocolate a little odd. Kind of coarse. Finally, the right most chocolate is tempered. It has a nice shine, snaps when you break it, and does not melt as you are trying to pick it up.
 |
 |
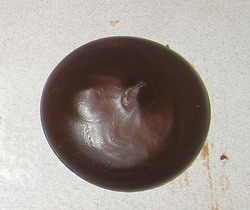 |
| Untempered chocolate | Chocolate that has bloomed | Tempered Chocolate |
Tempering involves bringing your Alchemical chocolate creation to a temperature at which the cocoa butter reaches its most stable form.
Many people seem to be quite confused about tempering and what is going on. One day it finally snapped into place (pardon the minor pun) what was going on. I have done my best to explain in these combined articles. Tempering - Deconstruction and Reconstruction.
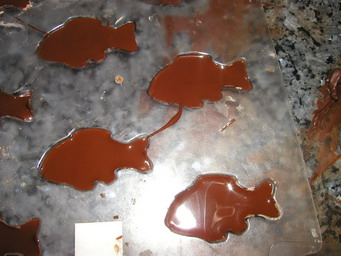
Chocolate will crystallize (incorrectly) if any moisture gets in it. When tempering chocolate, you must keep your chocolate dry at all stages, after all, you just spent days conching it to remove the water.
 |
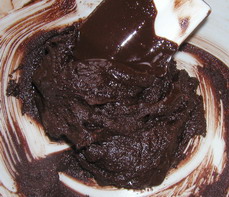 |
Just look what a drop of water will do!!! If you really get into making chocolate, it might be worth it to consider purchasing a chocolate temperer although I personally prefer the hands on process. These appliances take the guess work out of tempering. Home machines run between $300 and $900 and can be found on the internet.
The first step of tempering chocolate is to melt it carefully. About the minimum I would suggest doing is about 1.5 lbs. Less than this and keeping the temperatures correct can be tricky. The temperature should be between 100 and 110 degrees F. I find melting a number of pounds is convenient in a oven with a pilot light over the span of a few hours. To use a double boiler make sure the water simmers but does not boil and that the pan is not touching with the water. Stir almost constantly. When your chocolate is almost melted turn off the heat and continue stirring.

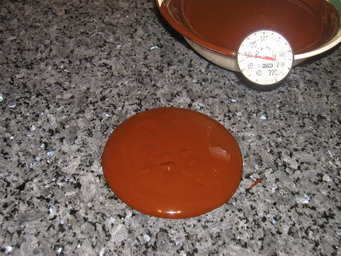
When the chocolate is melted, pour it into a second, dry bowl to help bring the temperature down or just stir until it is cooled a little. You want to maintain this melted chocolate at a temperature of about 95-100 degrees F. Use a good thermometer to verify this.

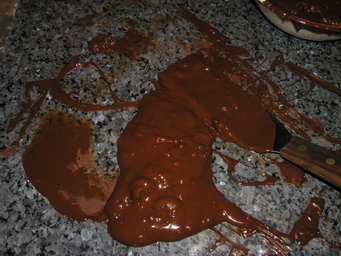
Pour about a one quarter to on third of the melted chocolate on a dry non-porous surface. Marble is traditional, but I have never been traditional, so I use granite. There is nothing magical about only tabling a portion of the chocolate. In theory you could not reserve some and just do it all, but it's generally much easier to just work with a portion. Why make your life more complicated by using more?
Use a spatula to spread the chocolate out, then bring the chocolate together again using a pastry scraper or the like.
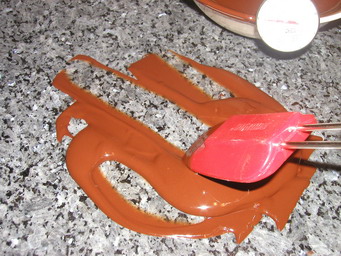
Continue this until the chocolate has cooled to 82-85 F . At this point the chocolate should be a thick mass and should take 10-15 minutes. This is not set in stone, just an estimate. Personally, I have found that I am not even measuring this temperature, I am just working it until it start to thicken up
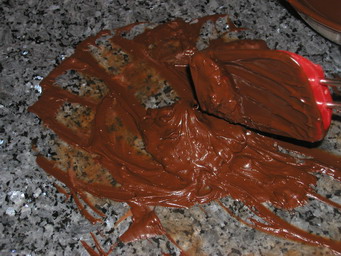
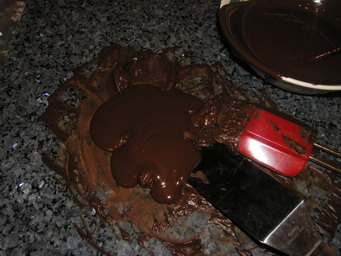
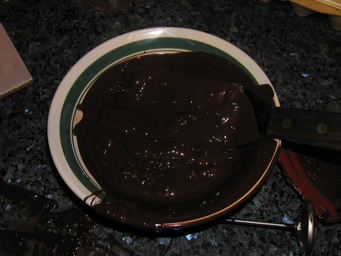
To get it workable again, I add some of the 100 degree held chocolate to the seed chocolate (what is on the granit) and work it gently.
 |
 |
Add this mass back to the bowl of chocolate that you have kept at 95-100 degrees F. Stir it in gently trying not to create bubbles.
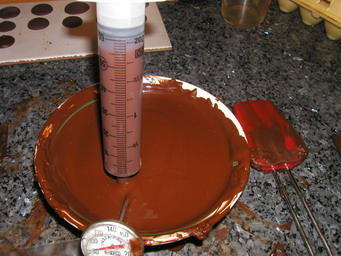
Check the temperature. You want a temperature of about 90 F , but never over 92F. If you go over, the seed crystal you just formed at 82�F start to melt and reconfigure and effectively you start untempering your chocolate. Heat it gently if the chocolate is too cold and adjust your amounts and temperature next time to reach this goal. Remember this is a dynamic process and rarely the same twice.

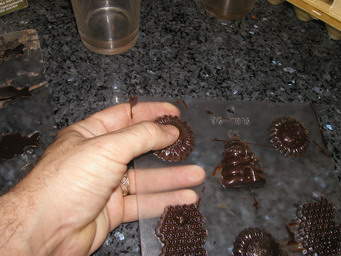
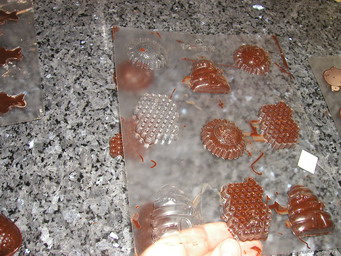
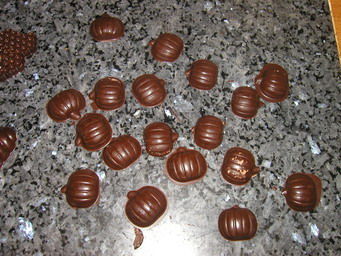
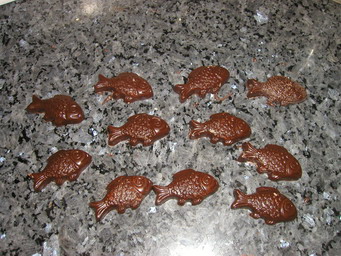
The chocolate should now tempered and can be poured into clean, dry molds. I like to use a large syringe to dispense the chocolate.
 |
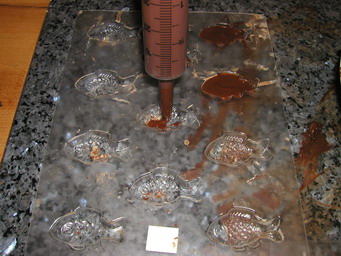 |
Once the chocolate is in the mold, give it a few gentle but firm raps on the counter and it will smooth right out.
 |
 |
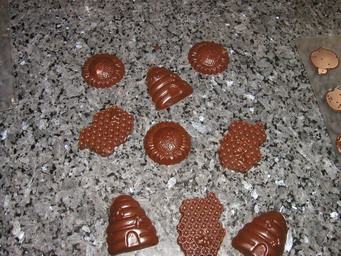
You can either refrigerate, freeze or just let the chocolate harden at room temperature before unmolding. You will just have to experiment and see what you like the best. Ask 3 chocolate makers which is the "right" way and you will probably get 4 different answers. Regardless, once the chocolate has set up, just invert the mold, and press gently. The chocolate should just pop right out - all tempered and glossy.
 |
 |
Remember, this may take a bit of practise, and should the need arise, the chocolate can always be tempered again as long as no water has been added and it has not been burned.
 |
 |
 |
Good luck!
If you want some other versions of tempering, check out the following.
Wayne at "Wayne's this and that" has experimented with a huge number of items. One of them is making chocolate at home, and tempering. Check his site out. I like how he approaches tempering.
ScharffenBerger does not have a direct link to their tempering section right now. It is worth searching out though. Go to ScharffenBerger and use their search to find "tempering". They approach it in a very good way, lots of definitions, (Al)chemistry and practical knowledge.