

First off, unplug your Santha. For this repair you will need.
- Phillips screwdriver
- Small straight screwdriver
- Pry/crow bar
- Crescent wrench
- small hammer (optional)
Turn the Santha upside down.

Using the Phillips screw driver, remove the screws.
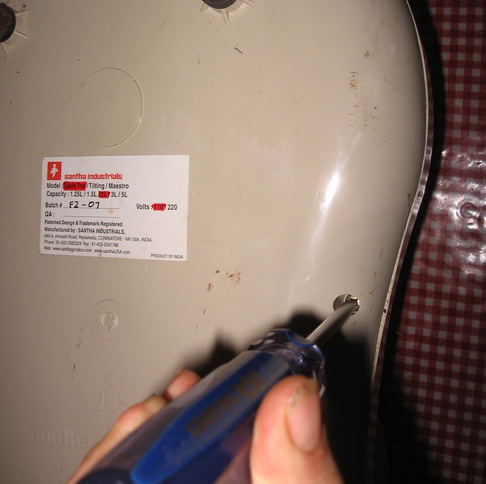
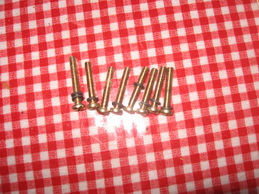
There a total of 8 with washers.
Carefully turn the Santha back over and lift the cover off. Note the wires running from the cover switch to the wire junction.

Flip the cover over and lay it next to the base.


Follow the wires from the switch on the top shell to the black wire connector. Make a note of which wires connect to which screw terminal. Mark the wires with tape if you feel the need.
Using the small straight screwdriver, loosen the terminals holding the switch wires. Remove the switch wires.
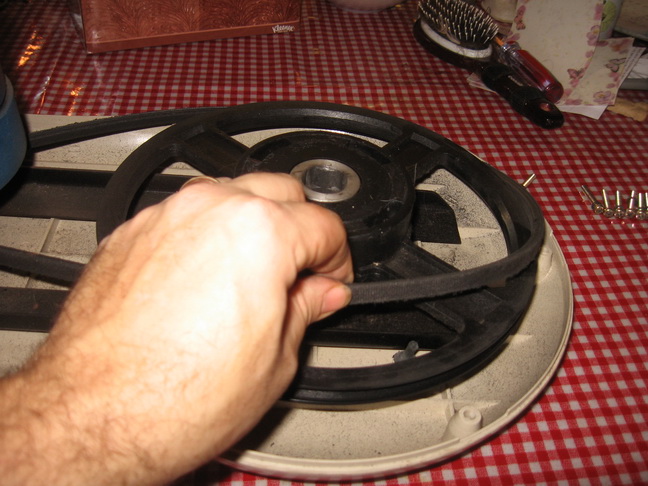
Next, remove the belt. It is easiest to pull the belt up slightly and rotate the hub counter clockwise.

Continue rotating the hub counter clockwise until the belt comes off. Put it to the side.
Next, remove the cord from the lower shell so it is free once the motor is loose.

While the motor is still attached and anchored, now is a good time to change the fan blade if needed.
VERY carefully, use the pry bar to pry the fan loose. No screws are holding it in place. Make sure to place NO pressure on the individual fan blades or they will break. Get the pry bar right next to the shaft to work.

You may find it helpful to gentle rotate the fan blade, delicately inching the fan blade up a little at a time.
Remove the fan blade.

Place the fan blade onto the new motor and gentle tap it on, with either the pry bar or your hammer.

Next you will remove the bolts holding the bracket that the motor is mounted on.
There are two bolts on each side.


Remove these bolts and remove the motor and brackets.
Next remove the brackets from the motor. There is one bolt holding each bracket on. Remove the bolts and remove the brackets.

At this point you should have to motor completely off, and are ready to simple assemble everything in the opposite way in which you took it apart.
- Place the brackets onto the new motor. You do not need to tighten the bolts down as we will do that at the end. Just get them into place.
- Attach the brackets and motor back onto the base with the four nuts and bolts.
- Reset the power cord into the lower shell.
- Make sure the capacitor (the white cylinder) is where the old one was.
- Plug the switch wires back into the black terminal block, making sure you have the wires connected the same way (refer to your note). Tighten the screws down.
At this point we want to set the proper tension on the motor for the belt.
- Place the belt on the motor shaft and slip the other side onto the hub. It may be loose.
- Gently move the motor away from the hub until the belt is tight.
- Holding the motor in place, remove the belt.
- Move the motor approximately 1/4" farther away.
- Tighten down the two bolts previously left loose.
- Slip the belt back on the motor shaft, and then rotate it clockwise onto the hub.
- It should be quite tight.
- In the event it is too loose or too tight, repeat the procedure moving the motor to get the tension on the motor tight.
Place the top shell back in in place.
Turn the Santha over and replace the 8 screws.
Turn the Santha back over, plug it in and test.
And of course, email me if you have any problems.


I wonder when beans go out of stock, would it be possible to preserve an archive section with the spider charts, your tasting notes, and roasting notes for these beans?