This is the short, fast, what you need and how it happens guide to get you going in the right direction.
Equipment list:
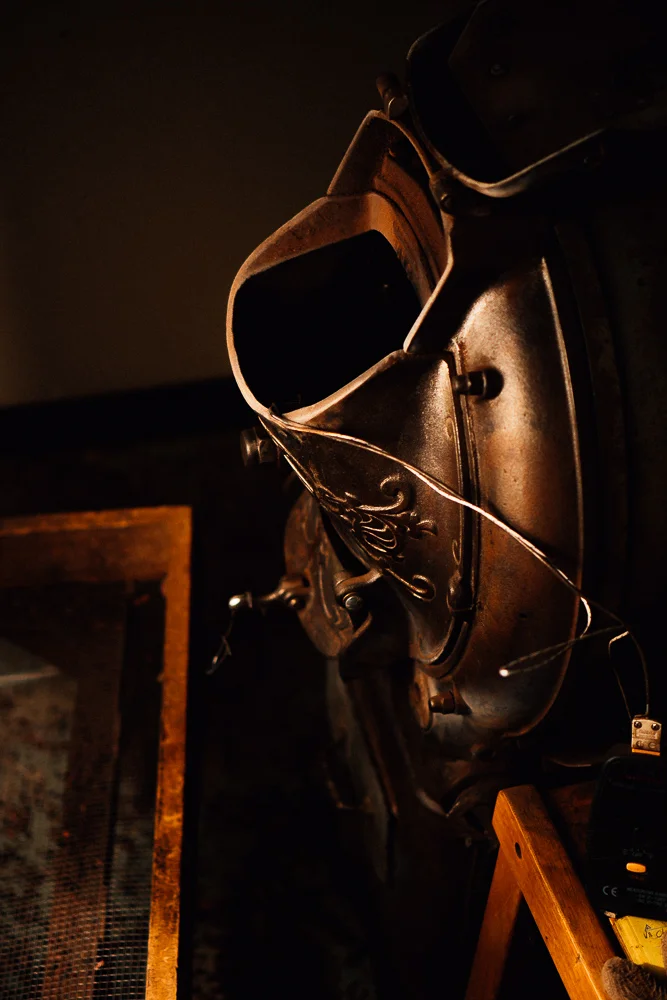
Roaster:
(The Alchemist uses his home built one or a Behmor currently.) It's possible to use your own oven, some varieties of coffee roasters beyond the Behmor, a pan on top of your stove, a modified pop corn popper -- similar to coffee roasting it depends on how much experimentation vs equipment you want.
Cracking the Beans:
I like the Champion Juicer to crack beans. It's fast and efficient. And gives you double duty since it can also make roasted nibs into liquor. Peeling by hand is low tech and the way it was done long ago (and in some origins), takes a while, and may be more or less efficient for winnowing at the same time depending on your technique. It's less efficient on time.
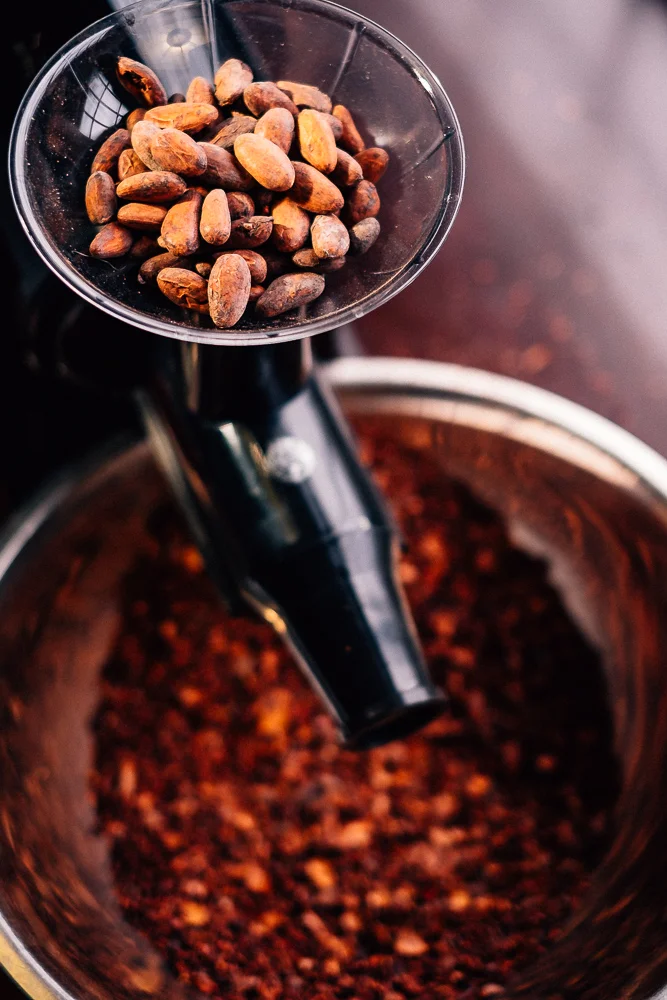
Winnowing:
The lowest tech method (after hand peeling) ishair dryer set to cold, or a small shop vac set to blow; over a large bowl of nibs and husks. The bowl is circulated with a tossing motion of the hand bringing nibs and husks up slightly into the air, giving the husks a chance to blow away. After that, there is the hand fed Sylph or the automated Flux Winnower.
Grinding:
Champion Juicer: there doesn't seem to be a good substitute for this one yet. With a small amount of nibs you can skip the grinding stage and go straight to the Melanger, but the bigger your batch the harder that is. You loose a set amount every time you put cocoa beans through the Champion -- six ounces (6 oz) no matter what weight you are processing.
Refining/Conching.
You need a Melanger. Either the Spectra 11 for home use or one of the larger ones if you need more. There's not a home substitute for this one either. This is the heavy granite slab with granite wheels that crunches the lumpy cocoa liquor (along with your other dry ingredients and extra cocoa butter, depending on what you're making) into something you'll want to hand to your friends and grandma.
Optional Equipment to make it a little easier.
A Scale: In order to measure your ingredients, rather than putting them into a measuring cup, they need to be weighed. Wet (cocoa liquor and melted cocoa butter) and dry (sugar, powered milk if you're making milk chocolate) all get weighed. This is a mass not volume business. Cocoa butter and cocoa liquor unfortunately don't come with neat little lines on their wrappers to tell you how much makes a quarter cup. They don't come with wrappers!
Molds: Molds are optional. If you have them you can make your chocolate into pretty little hearts or squares or fishes. Without them you can pour it into a zip lock bag for storage, onto wax paper in a big puddle which will dry in an uneven sheet that you can break up. An ice cube tray would work for cubes of chocolate. It all depends on what you want to do once you make it.

Edibles
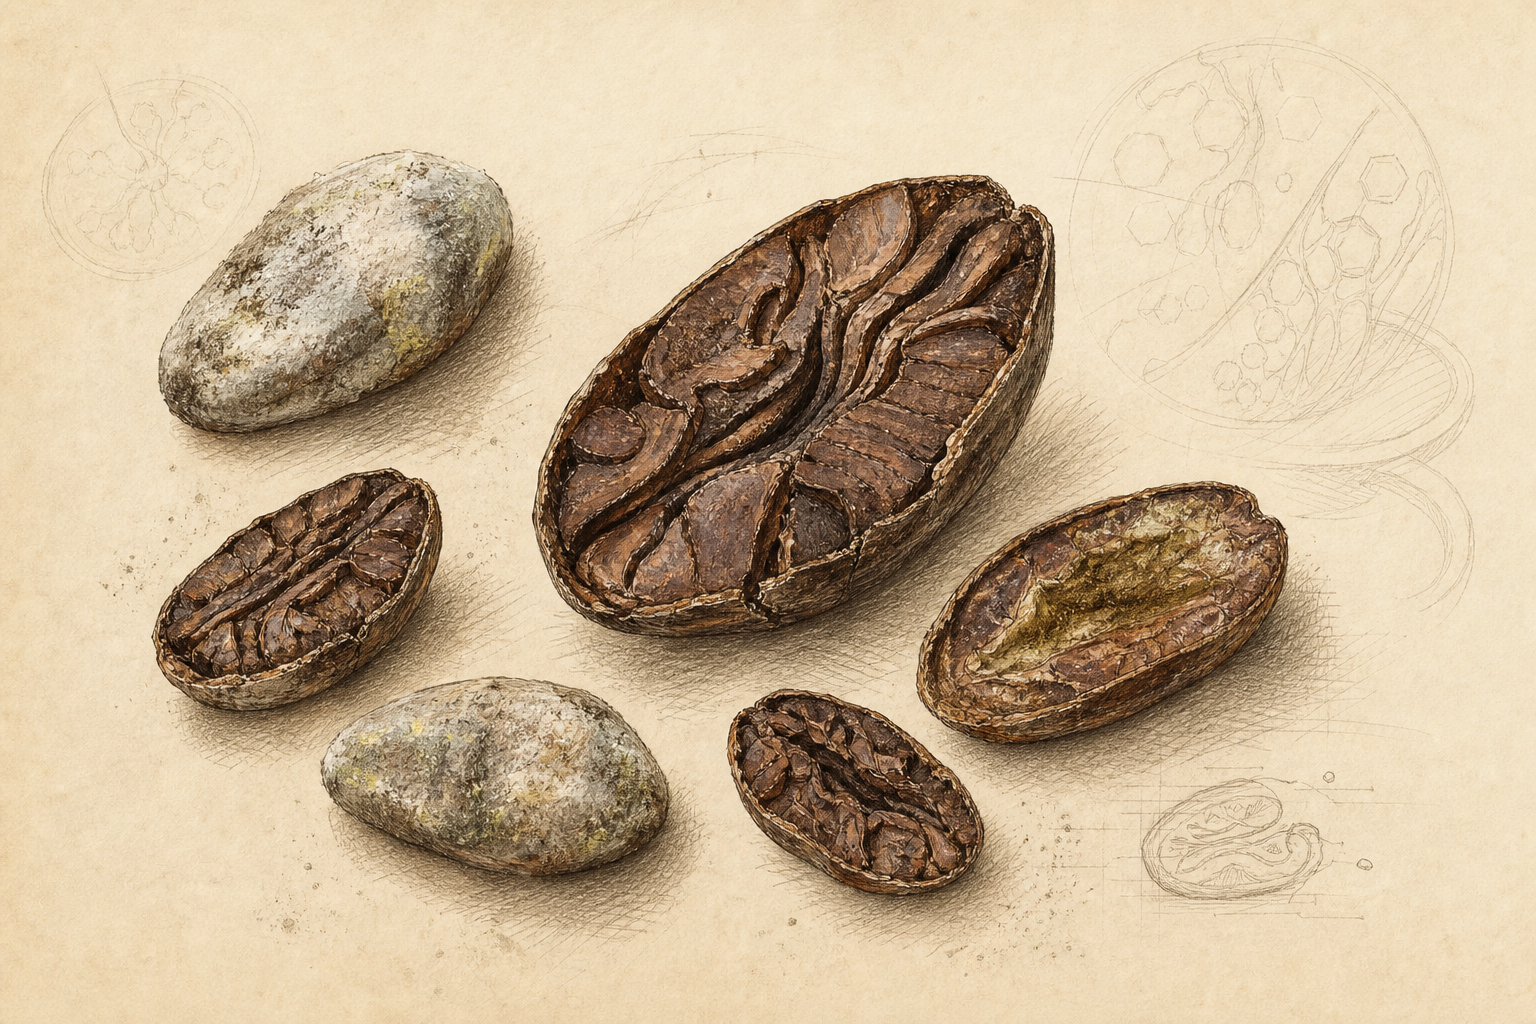
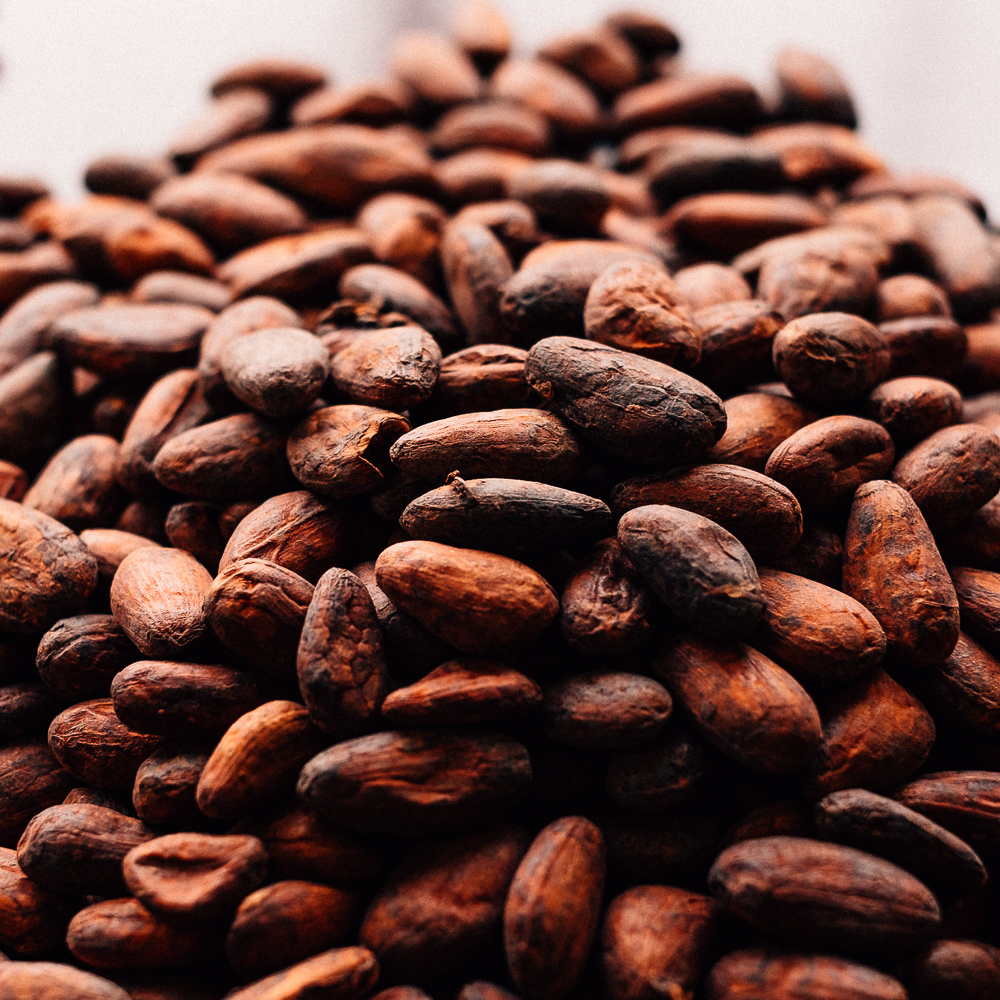
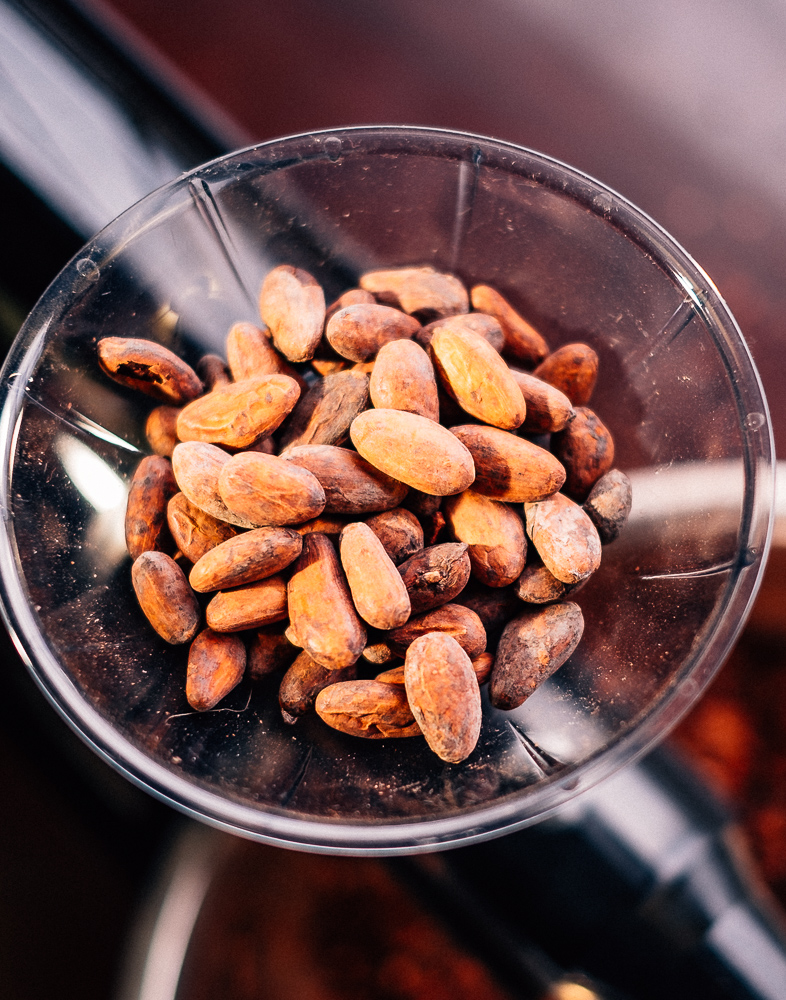
Cocoa Beans
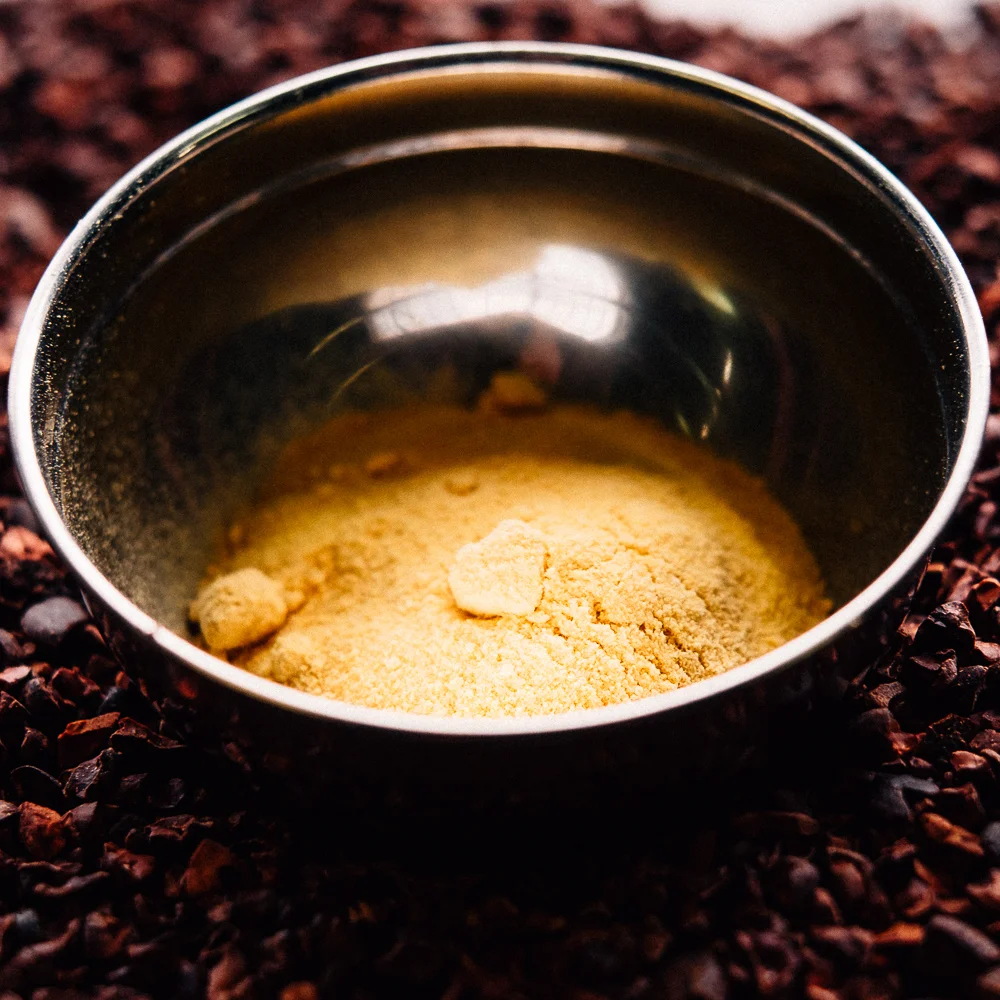
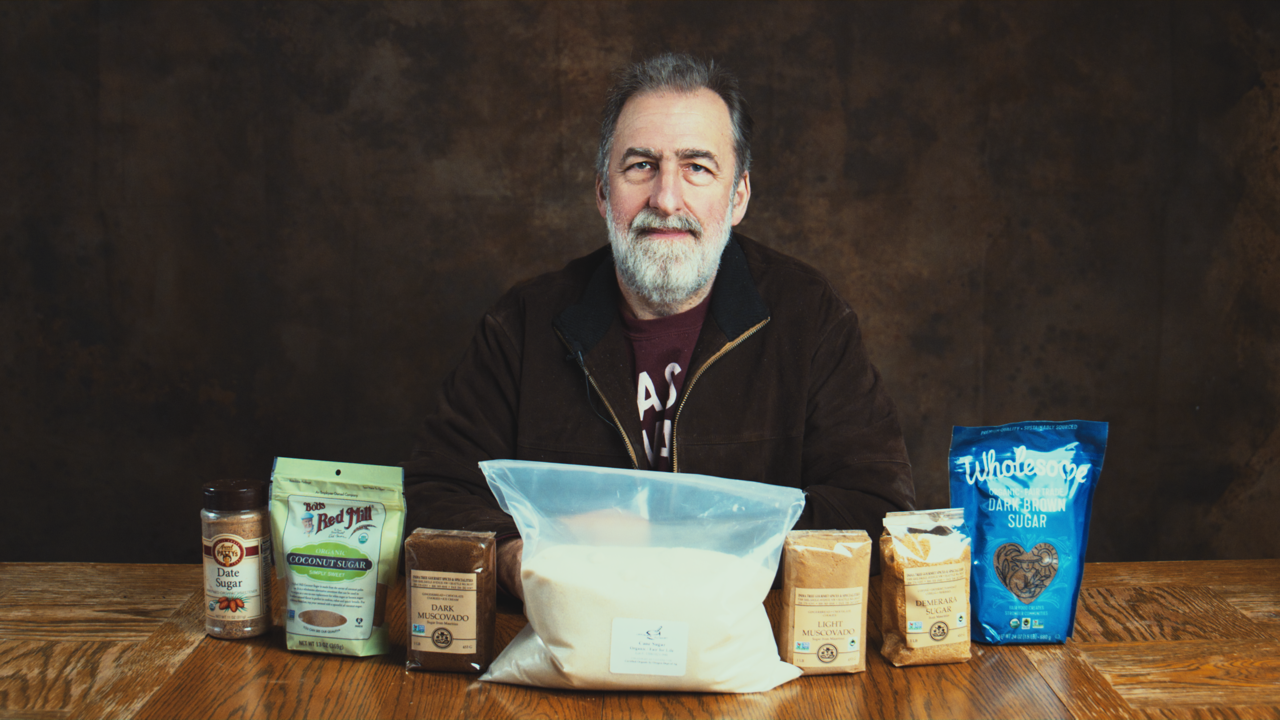
Sugar
Make sure it's dry sugar
Cocoa beans: variety of your choice. Two pounds is a good amount to start with because you loose some weight in the winnowing process, and some more when you grind them. If you don't get them from the Alchemist he won't have sympathy for you if they taste bad. (the Alchemist is smiling at this as he reads it - not that it isn't true)
Sugar: makes your chocolate sweet. Must be dry sugar, not honey, syrup, etc.
Milk Powder
Milk Powder: You need dry milk if you want to make milk chocolate. You can't use ANY liquid ingredients.

Granulated Lecithen
Lecithin: made from soy generally. Most people think of it as an emulsifier, this is not true for chocolate making. In this case it modifies viscosity, it makes a thinner chocolate. It is often used in place of cocoa butter since it is cheaper, but also isn't a direct replacement.
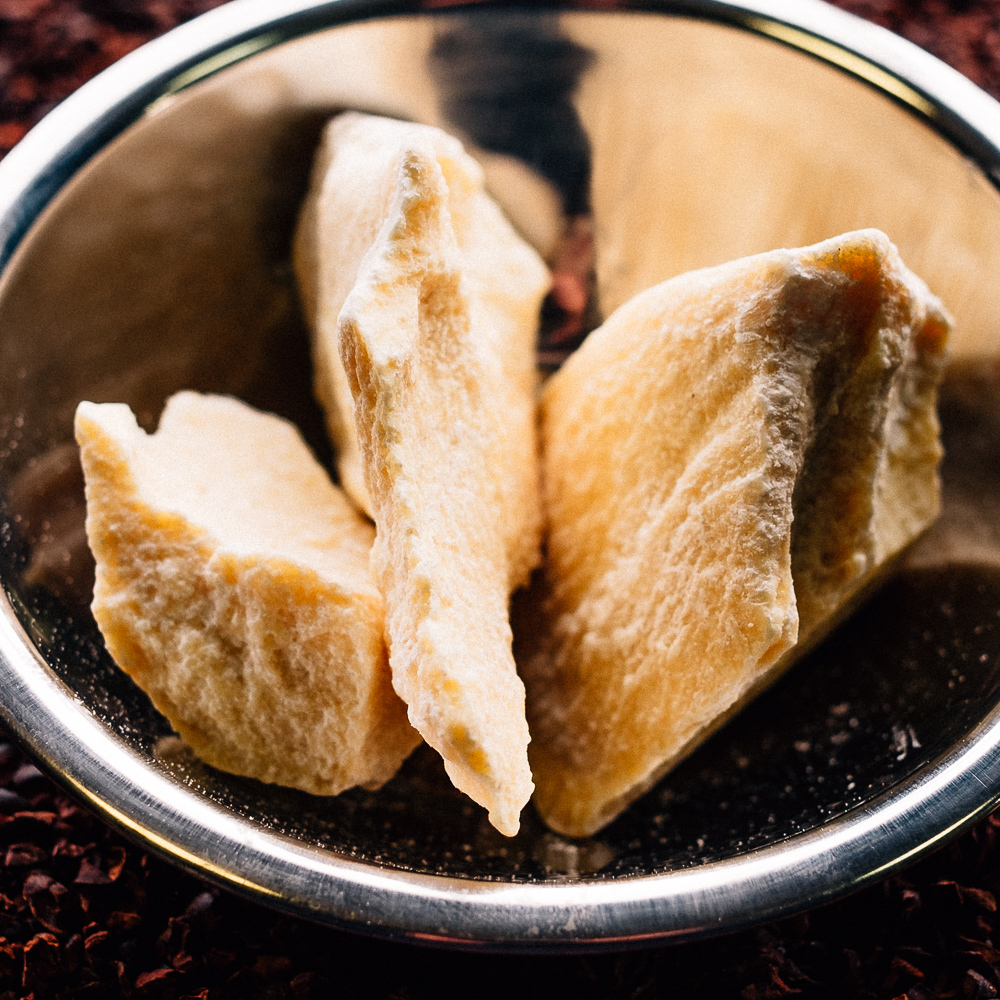
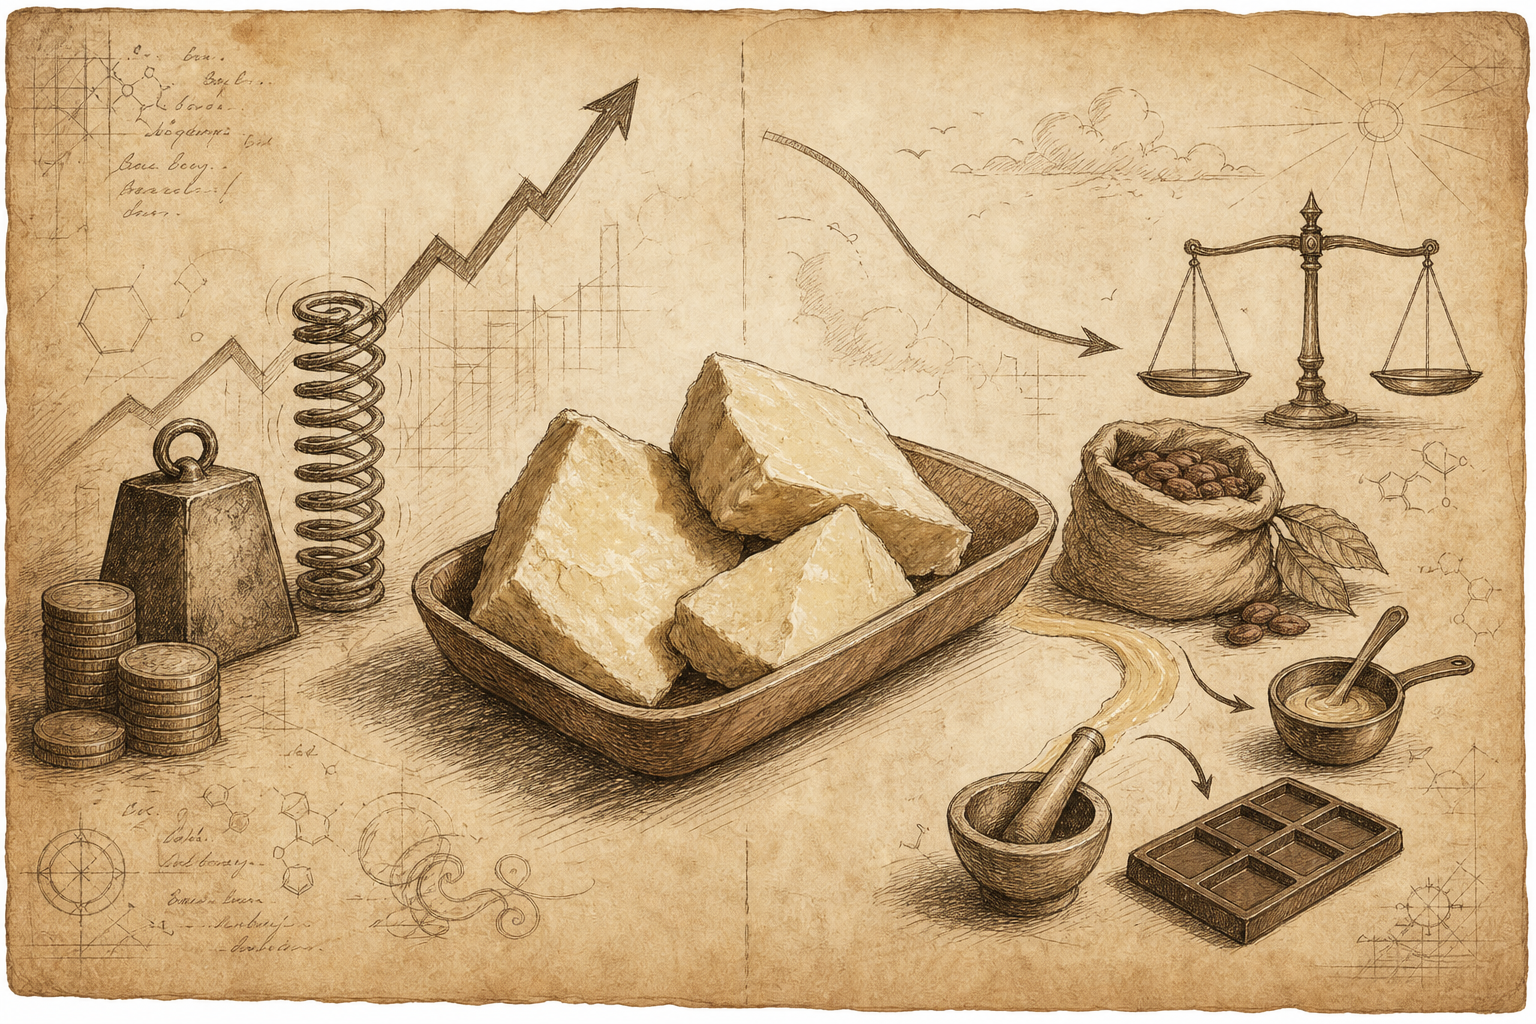
Cocoa Butter
Cocoa butter: optional, makes a softer chocolate for eating. You don't have to have it if you're making baker's chocolate.
What to do
Roast your cocoa beans...
Then cool them until they are back to room temperature. It's easiest to do this at least half a day before anything else. A full day would be even better. Roasting cocoa beans often smell like baking brownies. Expect to attract spectators if there are any around.
Crack & Winnow the Beans
Either with the Champion without its screen in, or by hand. You feed the beans in the top and the nibs and husk come out the bottom. Then you do the blowing air and tossing nibs part until there is little or no husk left in the beans if you using a blow drier.. You'll also have about a six foot circle of husk around you. Winnowing is best done outdoors, or in an area that's open and easy to sweep up. The kitchen is not such a good option. Of you use the Sylph.
Turn the Nibs in to Liquor:
Put them through the Champion again, this time with the screen in place. Cocoa liquor comes out the bottom and the waste comes out the front. You want a bowl in each place. You can put the waste through a second time to get all the liquor out of it that's possible. Winnowing and then the champion combined will "eat" about six ounces each time you make a batch of chocolate. If you're only making a pound this is a lot to loose. Hence the suggestion above of two pounds of beans.
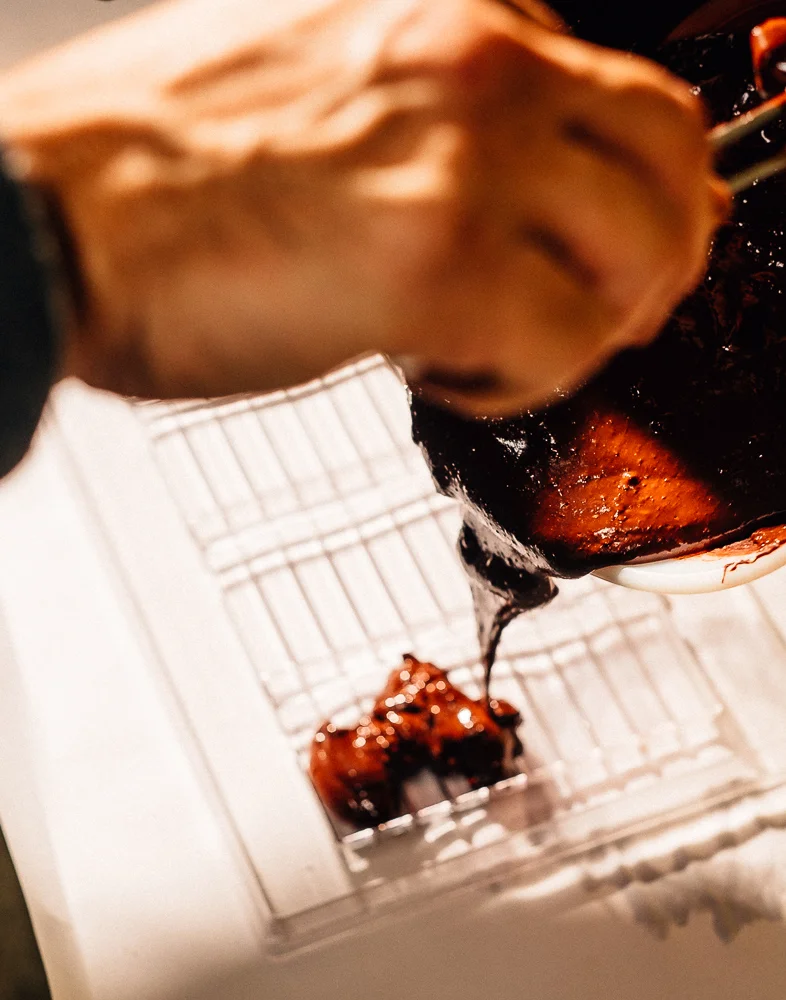
Refine / Conch
Make sure your liquor is still nicely liquid, and put it in your Melanger to turn it from the sort of lumpy, gritty stuff to smooth chocolate. Start it running as soon as the cocoa liquor is in, and then add the other ingredients a bit at a time. That way the rollers don't have to try to bump over a pile of sugar or dry milk. NO WATER BASED LIQUIDS! If you want to put in brown sugar, dry it for a while in your oven. If you're using them, add the cocoa butter, lecithin, sugar, milk powder, etc. Put the lid on and let it go. We don't leave ours running if we aren't home generally. The thing runs from 18 to 48 hours depending on the chocolate and other ingredients. You can stop it and check how smooth your chocolate is by dipping a spoon in (like tasting batters). If you stop it for a long time it will cool off. You can put the metal and granite part of the Melanger into a slightly warm oven to warm it back up -- this is slow. The plastic knob won't take much heat -- but 100-150 degrees F for an hour or two will remelt the chocolate until the Melanger can run again.
If you want shiny chocolate you have to temper it, which takes warming and cooling and making it's structure change. As for all of this, see the Alchemist's real instructions for how to do it.
Mold your chocolate: the chocolate's smooth and no longer feels grainy. Pour it into molds, or whatever final holding device you're using. Clean up for as long as it takes go get all the chocolate off the Melanger and you're done. The molds need to cool for a few hours before the chocolate comes out of them.
As I said at the beginning. This is quick and dirty. It's not meant to teach you how to make chocolate but to give you an overview.
Tempering
*
Tempering *