
Refining - Resolving Complexity Part 4
Good day my friends. I’m so glad you’ve come back. This last week I’ve been experimenting with making some Korean rice wine that is slightly sweet. Some is warmed up with some ginger and cinnamon. Please partake if it suits you.
Believe it or not, we are all but done. The remaining steps are really just sweeping up as it were. Once you have picked a quality cocoa bean you like, roasted it and have a recipe in hand, the hard parts are all done. Keeping in mind this isn’t a challenge but at this point you would be hard pressed to mess it up. I’ve said chocolate making is just another form of cooking. Once the soup is on to simmer, short of burning it, it’s hard to mess it up.
Now that isn’t to say there is no work left to do, just that most it is going through the motions. I’ve found lots of people over complicate it and worry over all the little details. The point I’m making is that the supposed details simply don’t matter.
The two remaining steps are separating the nibs from the husk then making chocolate with those nibs.
On Cracking and Winnowing
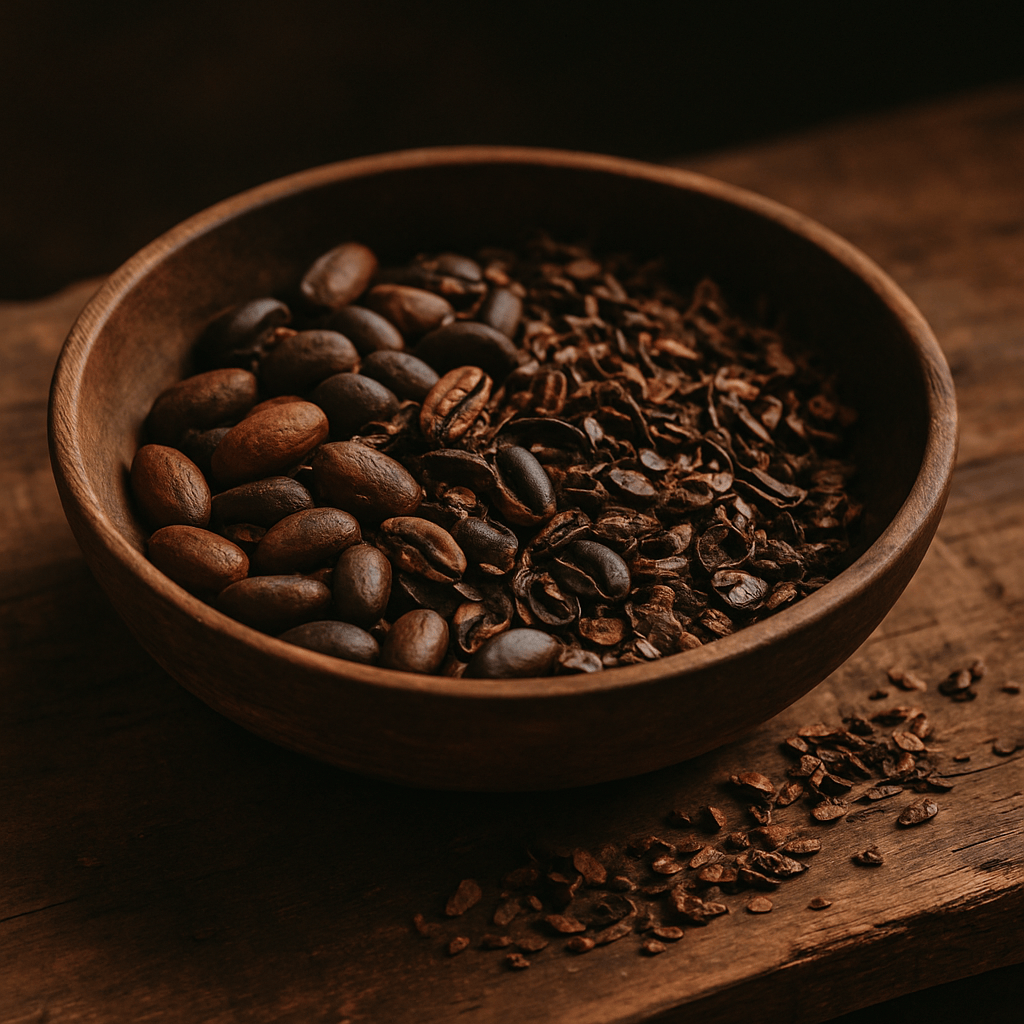
Getting rid of the husk is called winnowing and to winnow the beans we have to crack them so the husk separates from the beans.
In its very simplest form you could hand peel the cocoa. It’s been done that way for hundreds of years. But it is pretty slow. You’ll be lucky to hand peel a pound an hour and I really can’t recommend you do it.
There are countless ways to do things but we’re going to focus on the ways that are time proven to work.
Although they are currently no longer being made, the best way to crack cocoa is with a Champion Juicer, specifically the Champion 2000. We offer used ones and there are always some on ebay. With the juice screen removed, and a shallow bowl underneath, roasted cocoa beans will just soar through the juicer giving you a pile of mixed husk and nibs ready to be winnowed.
Nice and simple, huh?
For winnowing a hair drier is the simplest DIY solution. You’ll need to find your inner fancy chef that can flip food in a saute pan. Basically you’ll do a little flip with the bowl and aim the hair dryer so you blow the lighter and larger husk out of the bowl while leaving the nibs in the bowl. Do this outside and wear a mask. This is absolutely one of those things that are a bit like learning to use a scythe. It’s going to seem pretty messy and unwieldy at first, and it would go much better if I could show you in person but it really isn’t all that hard.
Keep in mind that you don’t have to remove 100% of the husk. That is where most people make this complicated. Once you have it down 1 lb should only take you 1 to 1.5 minutes. Any more than that and you are just wasting time. You simply won’t be able to taste the difference. There is about 20% husk by weight. Removing 95% will leave you with about 1%. At one point I tested how much husk could be left in. It was not until there was over 5% was it noticeable.
Now if you don’t want the mess of the hair dryer your other simple choice is to buy a Sylph winnower. Since this is all about making the complex simple, buying something built for the task is the simplest solution.
And should decide all that roasting, cracking and winnowing is just a tad too much for you (no maker shame from me) then you could buy some roasted nibs and start right at the next step.
On Refining and Conching
And now we approach the climax of our play—the reason you are here—The “making” of Chocolate.
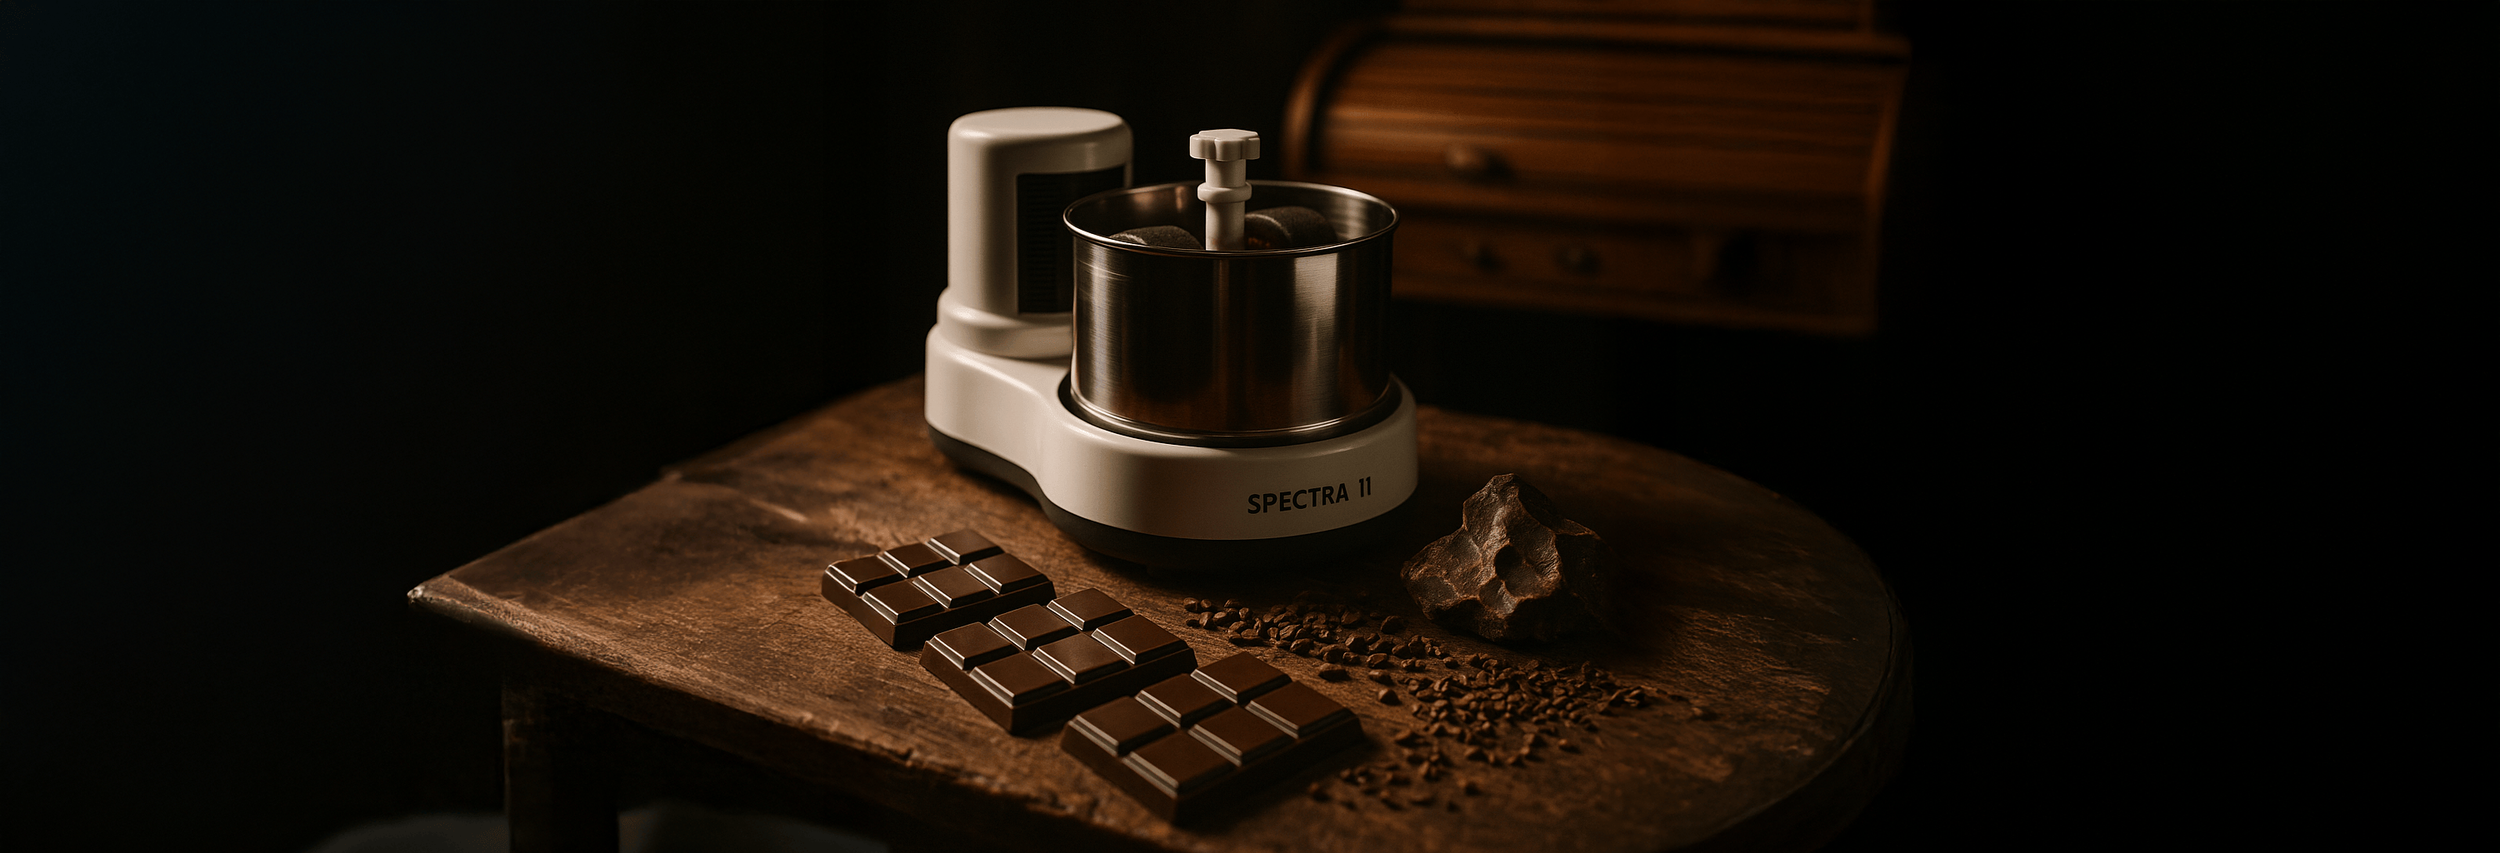
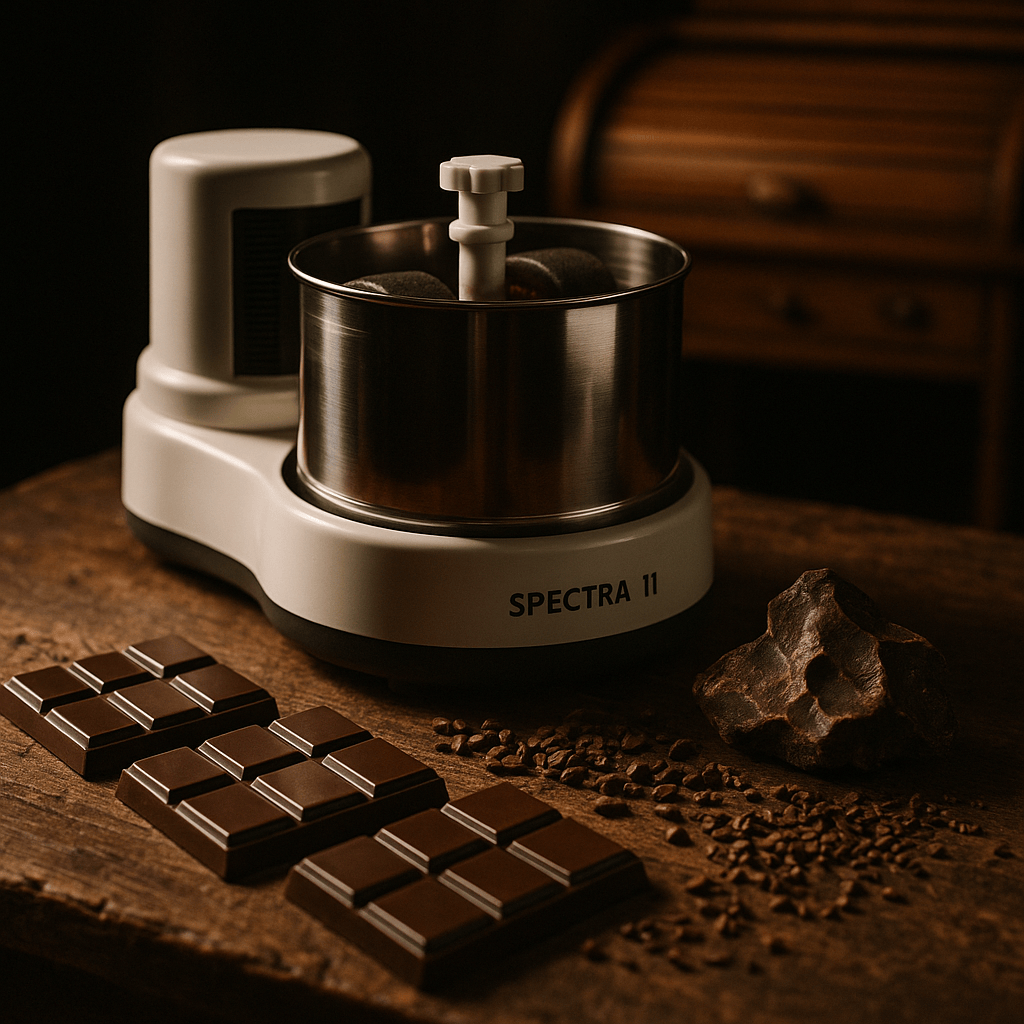
Extreme Short Version: . You put warmed roasted nibs into a machine called a melanger. A melanger (pictured left) has an open bowl with a granite base and a pair of granite rollers which over a day or two will refine your ingredients into smooth modern chocolate. .
It is no more complicated than mixing a batch of chocolate chip cookies in a stand mixer. Heck, it is probably even easier because the order you add the ingredients to the melanger is less critical.
The main thing you have to concern yourself with is not stalling or jamming the melanger by adding the ingredients too fast. Just like in a batch of cookies. In both cases you add the wet ingredients first, then dry ingredients as fast as you can, or as slow as you want.
Warm your ingredients, bowl and rollers in an oven on the lowest possible setting, around 170 F, and melt your cocoa butter on the stove top. Doing these small optional steps will make things go more smoothly.
I set my warmed melanger bowl and rollers in place with the tension cap a couple turns. It will be pretty loose. In goes the melted cocoa butter plus a few handfuls of nibs. I really like being efficient so I put as many nibs in as I can before the rollers start to bog down a bit. I let that run until the nibs are releasing cocoa butter and it looks like chocolate in there. This is usually 10-15 minutes. I keep adding more nibs in batches until they are all in. Sometimes just for giggles I’ll toss in some of the sugar and milk powder if I’m using them. It really doesn’t matter. The chocolate won’t know or care. Just don’t stall the machine. If you do, and you will at some point, just loosen the tension cap and you should be fine.
I would not blame you if you wanted to grind the nibs and sugar for efficiency sake. It certainly won’t hurt anything but I find it is an extra step and extra equipment that isn’t needed. The melanger will do this for you. Simplicity is the goal here.
I feel I would be remiss if I did not take a moment and mention conching. Conching is the process where chocolate is heated and aerated for flavor development. It automatically happens in a melanger. It’s nothing you have to ever concern yourself with if you are using a melanger.
Smaller one pound batches might be done in 24 hours but most batches take 48 hours. For all that’s holy, don’t fumble at the 1 yard line and overthink when to stop the chocolate. You stop it when it is smooth to your tongue and it tastes good. It’s no more complex than that.
When it is done there is nothing special you have to do. Chocolate is stable at room temperature. You don’t need to refrigerate it or freeze it. If there isn’t time to temper it put it into a zip lock bag and let it solidify. If It turns chalky and makes pretty patterns that’s called bloom—but it’s not a problem. It will go away when you temper it.
What is tempering and bloom? Next time. It really isn’t part of chocolate making but it is important if your goal is making shiny bars that snap. So consider that the epilogue that we’ll talk about next time.
In Summary
I hope I’ve shown you that chocolate making is pretty simple.
Make or buy some good quality roasted cocoa nibs.
Put them and some sugar and cocoa butter into a melanger.
Let it run until smooth.
Everything else is complexity you may or may not need. I didn’t even have to temper the chocolate I made at the beginning of our play as it was a hot chocolate.
If you have any questions I’ve not answered, please comment. In this limited time offer, you have a free pass to ask whatever you want. But don’t think I won’t harbor the hope that when you think of things to ask you’ll see I’ve covered it, even by omission. As a suggestion, ‘why’ questions are great. I personally learn best when I understand the reasons behind the rules. It means you are thinking and I applaud that. Those would be great questions, so please, bring them on.
The curtain falls and the lights dim