

Resources

Guides

Brewing Guides

Recipes
Videos
Ask The Alchemist Series

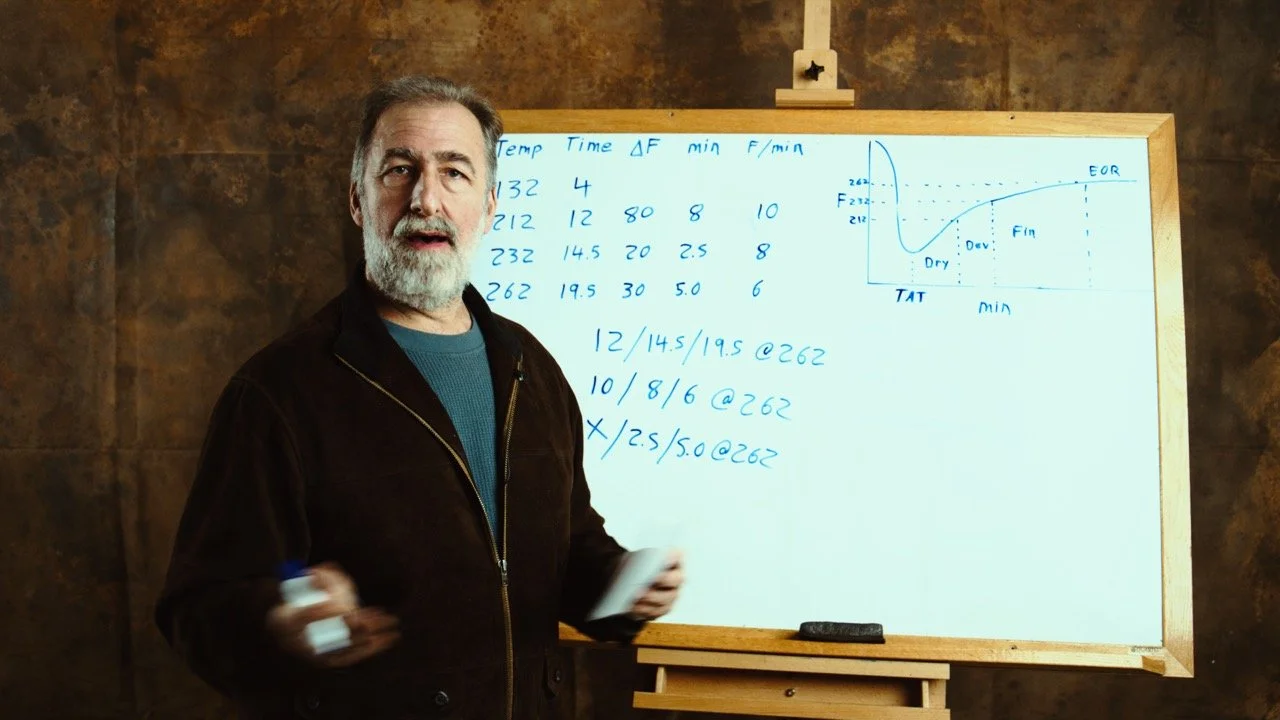
The Iron Triangle of Anguish
The Iron Triangle Of Anguish (ATA #310)
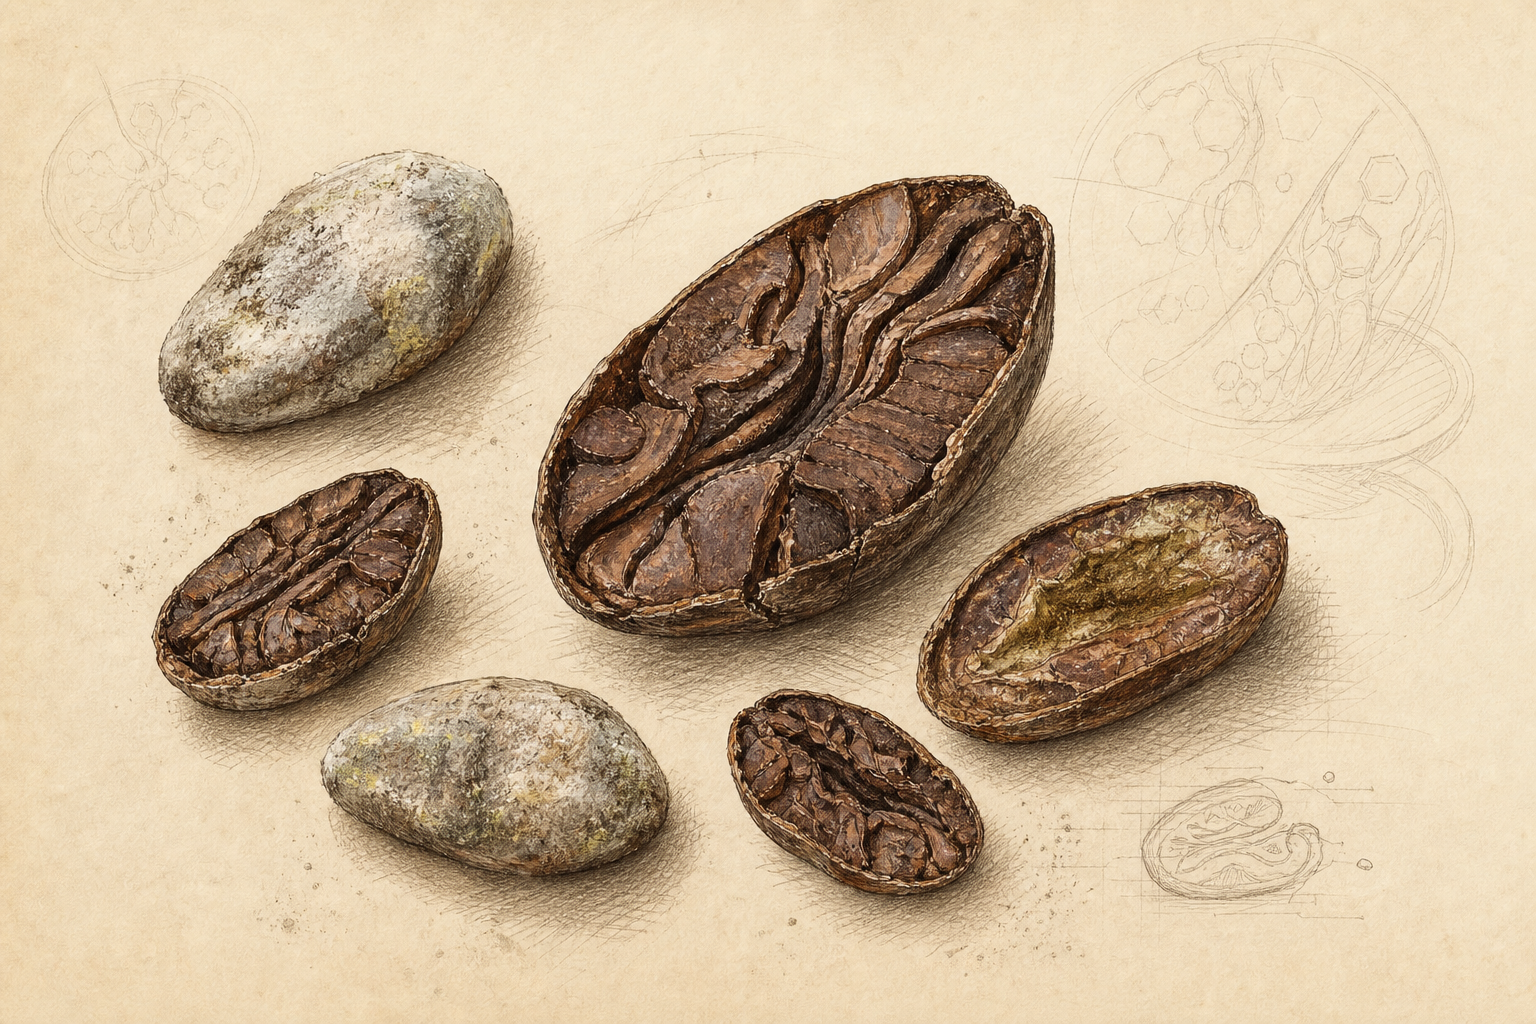
All about Cocoa Beans (ATA # 311)
Only a Drum, Motor and Some Heat (ATA 312)
Cracking and Winnowing in baby steps (ATA 313)
Melangers et al (ATA 314)
Tempering (ATA 315)
Research

Profile Drum Roasting
Introduction to Profile Roasting (ATA #200)
The Drying Phase (ATA #201)
Relating Roasting Profiles to oven roasting (ATA #202)
The Development Phase (ATA #203)
The Finishing Phase and Ending the Roast (ATA 205)